Easy Steps To Create a Business Website on WordPress by Yourself
If you are a small business owner, You definitely thinking about creating a website for your business.
And if you have talked to any developer or an Agency to create a website for your business, by now you would know what would the amount they would just charge for their services. It would be in thousands of Dollars.
There are several companies that advertise on Google, Facebook, YouTube about their business website creation tool that helps you build a beautiful business website in just a few minutes with just a few click of a button.
But if you compare their services to WordPress, you will find that their monthly charges are pretty high and they don’t offer you a lot of customization.
Here are some of the business website Builders
- Google my business
- Wix
- Squarespace
- Shopify
- and several others

These services are really great, but if you are a small business you definitely want to stay away from them because their services and their monthly charges are for the medium and large Enterprises.
So in this tutorial, I will show you how you can create a beautiful website for your business with all the customization that you want with all the required and essential pages and also the ability to go e-commerce with the same website and all these features would just come as low as $5 a month.
Yes, you heard me right, it’s cheaper than a cup of a coffee.☕
Disclosure: I may receive affiliate compensation for some of the links below at no cost to you if you decide to purchase a paid plan. You can read our affiliate disclosure in our privacy policy.
Here’s our easy step-by-step guide to creating a business website.????
- Determine your Business requirements.
- Buy your Domain Name.
- Choose your Hosting.
- Install WordPress for your Business Website.
- Design your Website.
- Make it ready for your business.
- Choose Whether to sell online or offline.
- Optimize Business Website from GloriousThemes.
- Launch your Website.
[presto_player id=11158]
What’s in this Article? ????
In this article, I am going to show you how you can use WordPress and create a beautiful business website for your business.
Since WordPress is free software and you don’t need to pay even a single penny for it but you need a hosting for that which will cost you around $5 a month.
This tutorial is going to cover the following things
- What is Hosting?
- Buying a Hosting Plan.
- How to create a Business Website on WordPress.
- Whom to contact if you have any problem with your website
What is Hosting? ????
Hosting is a virtual space that you rent in a server in a hosting company. This space is used for your website to store its files images and other necessary things that are required to run a website.
You can just compare it like your brick and mortar store, where you rent physical space in hosting you rent a Virtual space.

Buying a Hosting Plan.????
There are several companies that offer hosting for a website, Some are cheaper while others are costlier. But the main thing is to know which hosting is perfect for your website.
Not all hosting is meant for you or for all websites. Each hosting company provides special features for a particular kind of website.
Since yours will be a business website on WordPress, I am going to recommend this 3 hosting companies
I have personally used this hosting company and still I am using it for my different niche websites and I can personally guarantee you that you will not be disappointed by their services and their price.
From the above three hosting that I have listed, you can choose any hosting company as they are pretty similar and offer almost the same features at the same price.
But I personally love the siteground among all those as it provides features like easy WordPress control that helps me focus on my business more than maintaining my website.
So in this tutorial, I will be using the siteground as my hosting company and I will cover all the features and steps required to create a business website on siteground.
Buying a hosting plan on siteground ????
Step-1
So the first thing that you need to do to buy a hosting plan on siteground is to visit the official website of the siteground.
Next click on hosting from their top menu bar and choose WordPress hosting.
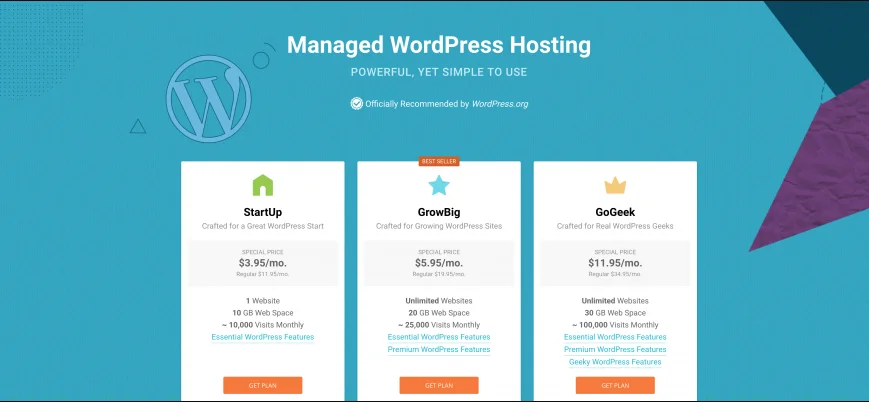
Once you click on WordPress hosting, a new page will appear where it will show you three different pricing, Something like this picture below.
Step-2
Choose the first plan that is the Startup Plan. I recommend this plan because you will have one website for your business. If you have more than one website or you have plans to have more than one website then go for Grow Big plan.
The feature of siteground hosting are as follows
- Unlimited Websites
- 20 GB Web Space
- ~ 25,000 Visits Monthly
- Unmetered Traffic
- Free WP Installation
- Free WP Migrator
- WordPress Auto updates
- Free SSL
- Daily Backup
- Free CDN
- Free Email
- WP-CLI and SSH
- Unlimited Databases
- 100% renewable energy match
- 30-Days Money-Back
- On-demand Backup Copies
- Speed-boosting Caching
- Staging
- Add Collaborators
As you can see from the above features that Siteground really provides great services on their hosting plan for the price of a cup of coffee.
Click on the “Get Plan” button.

Once you have chosen and click on that button you will be redirected to the second step where you will be asked to register a domain name or Choose if you already have purchased a domain name.
You can buy a domain name from the Siteground or you can buy a perfect domain name as low as $12 a year from Namecheap.
Read: How To Choose A Domain Name
I purchase all the domains from Namecheap since they provide privacy protection worth $18 in a year for free.
Click to purchase a domain name from NameCheap
Since I have already purchased a domain name, I will choose the second option that is “I already have a domain name”.
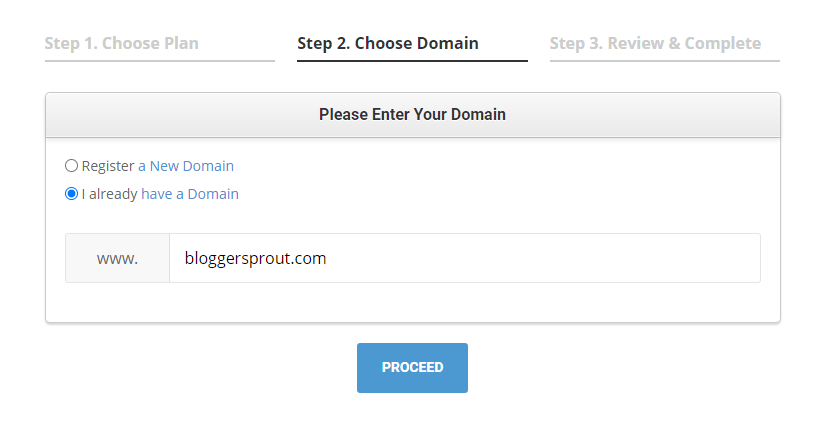
I will fill the domain name and click on the “Proceed Button”.
Step-3
Once you have filled your domain name and click the Proceed button, you will be forward to Step 3 where you can complete your order of purchasing a hosting plan from the siteground.
Step-3 is divided into 4 sections
- Account Information
- Client Information
- Payment Information
- Purchase Information
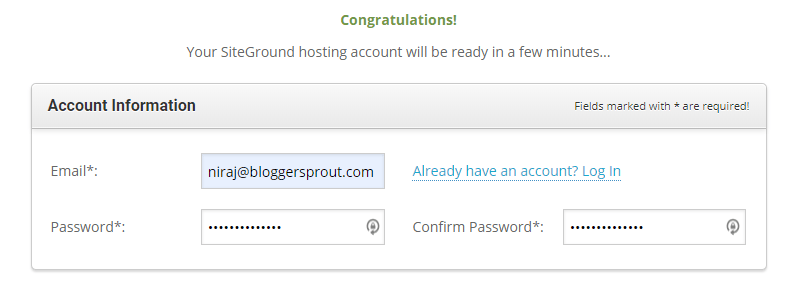
Account Information
In this step, you have to fill your email address and your password that you want to use to create your account on siteground.
This will be the same information that you will use to login to your siteground account to manage your website.
Client Information
In this section, you have to give your details like your country, name, address, phone number, and your zip code.
This information will be used to validate that you are a real user and that you will be using siteground web hosting for your personal or business purpose.
This information will also be matched up with the payment information so that the company can validate that the Purchase details of the card that has been used to make the payment are from the same person.
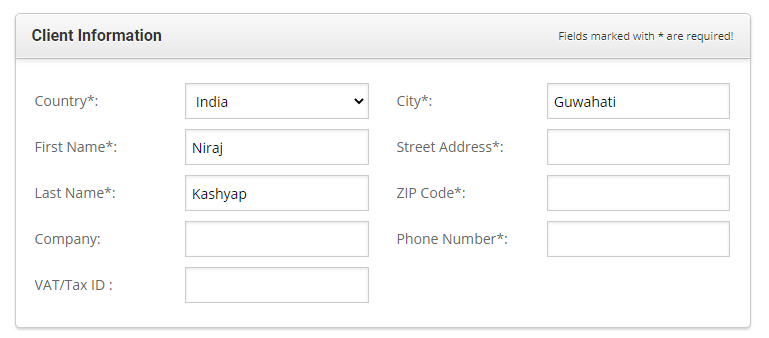
These steps are essential to avoid online frauds, so fill in your personal details very carefully.
Payment Information
In this step, you need to fill in your debit card or your credit card details like the
- card number,
- expiration date,
- cardholder name
- and the CVV code.
If you have chosen the payment card from a different person, then uncheck the box where it says billing address is the same as contact information.
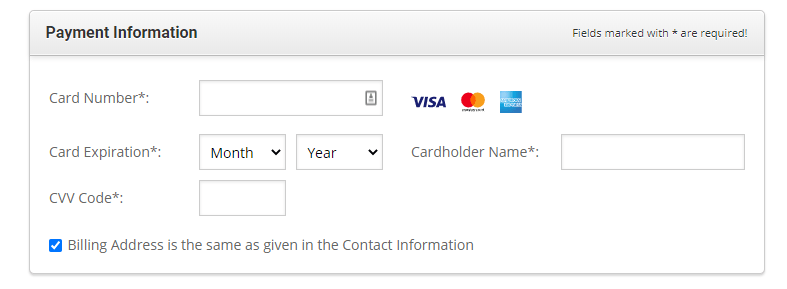
After you uncheck the box, the new address field will appear where you have to fill in the information of the cardholder.
Purchase Information
In this section, you can have a glance at the plan you are going to purchase, the location of your data center, and the period for how long you are going to purchase the hosting plan.
Note: If you like to make any changes to your plan data center or the period you can do it in this section
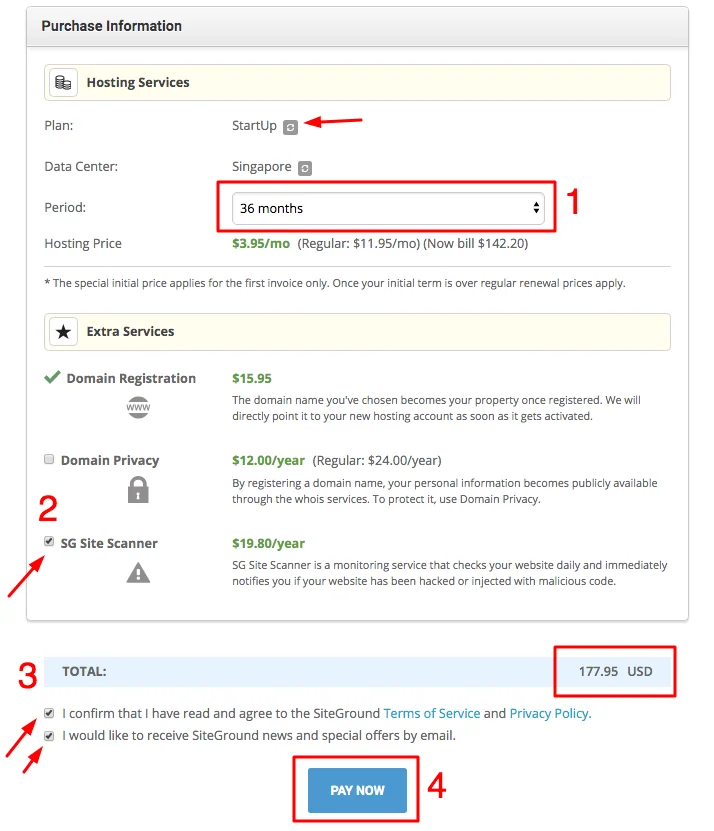
Once you are happy with all the information that you have filled and you are ready to make the purchase. Check the boxes where it says “I confirm with terms and condition” and click on the “pay now” button
Once you have to click the pay now button, it will be redirected to the payment gateway page, where it will check and confirm and deduct the balance from your account and your account will be created after the successful deduction of the amount.
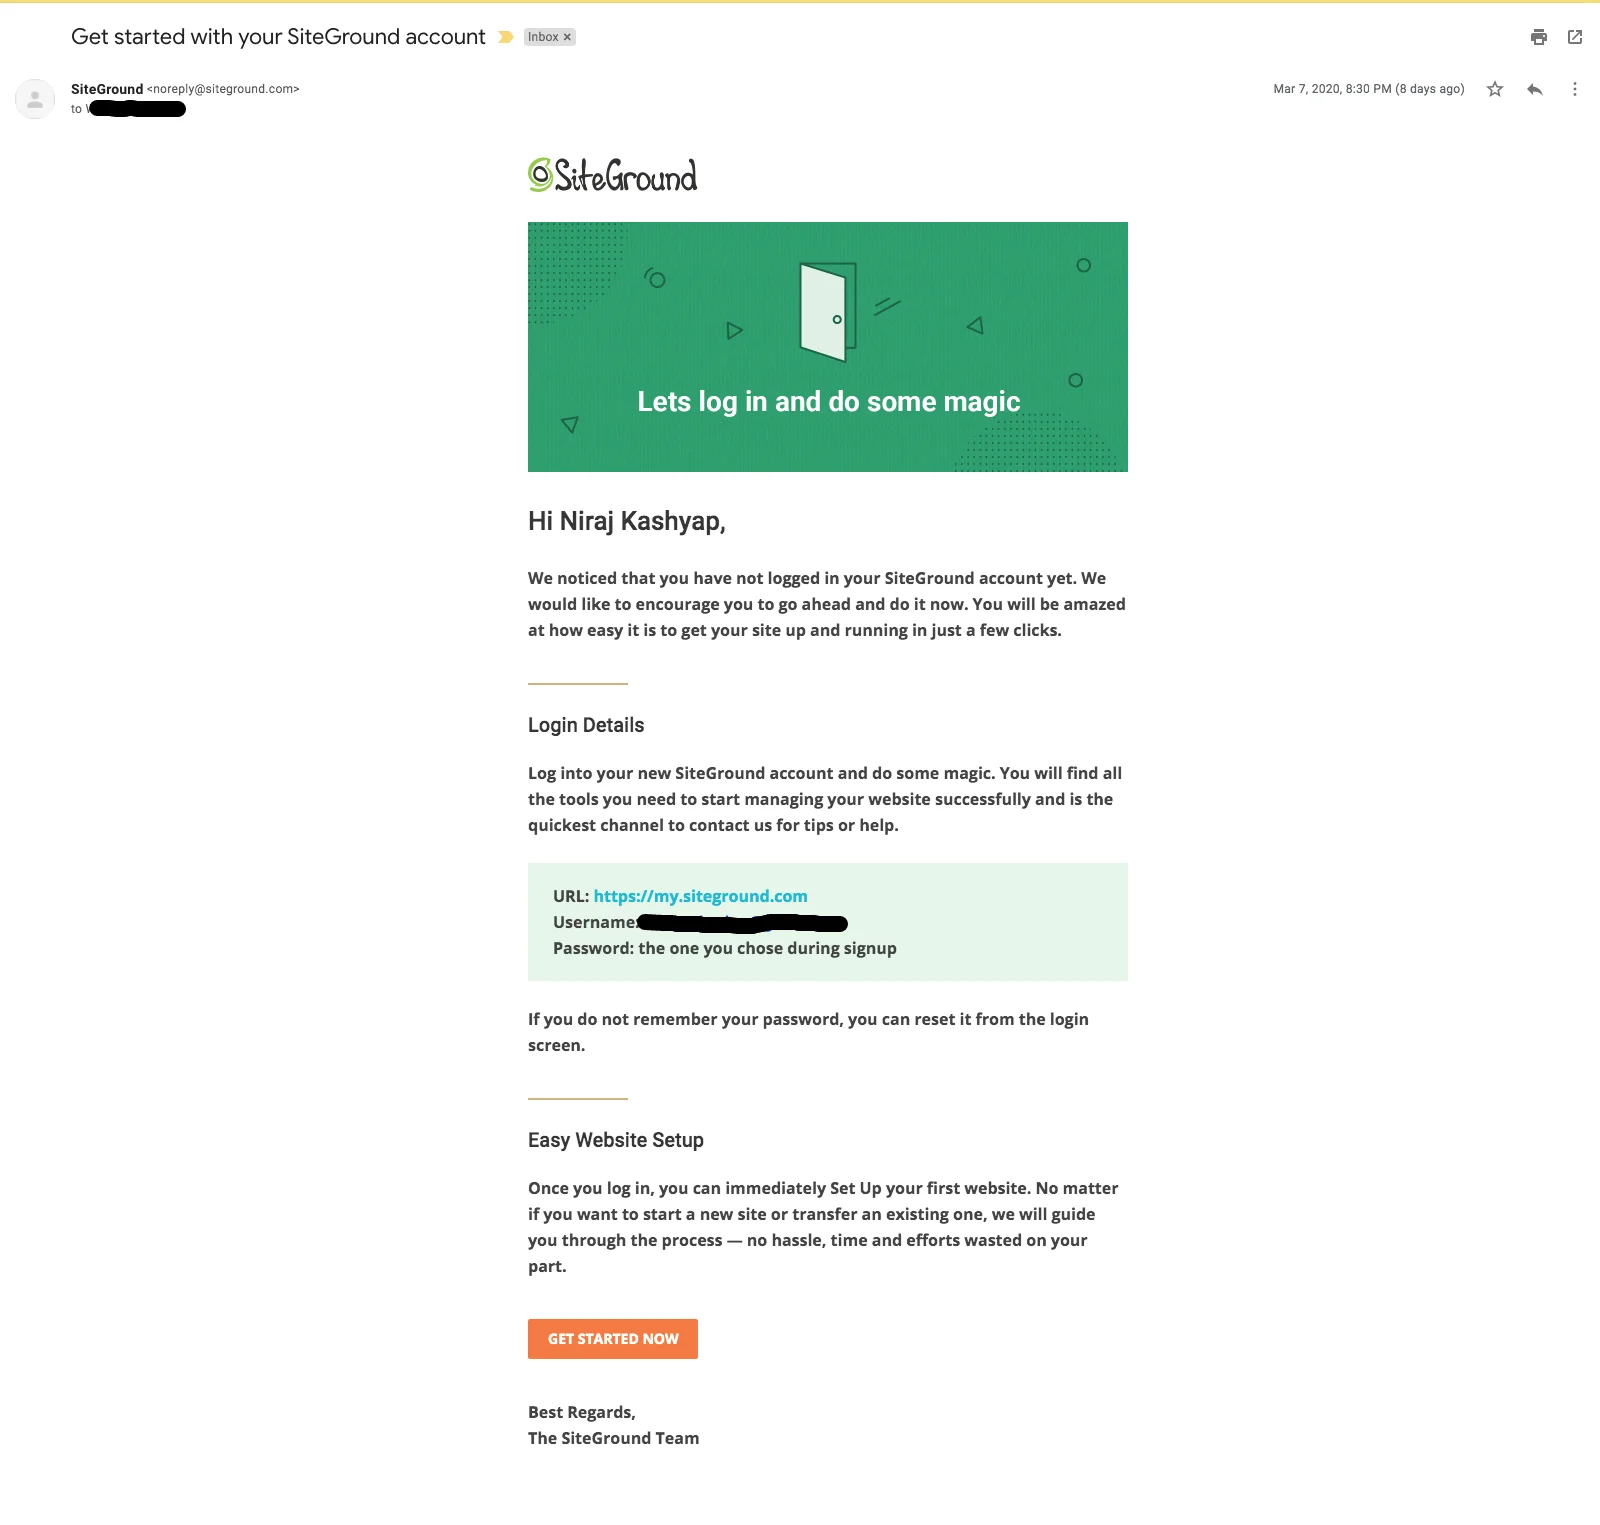
Next confirm your email address, as you will get an email in your account from the siteground.
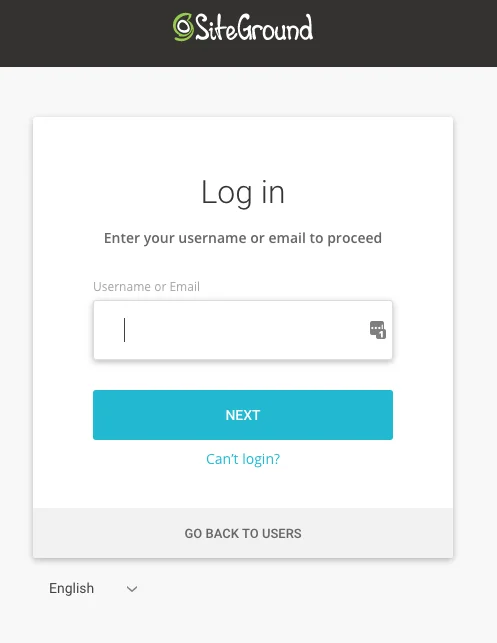
Next, click on login in the siteground website and fill in your email address and password.
Wow, you have successfully purchased Siteground hosting. The next step is to install WordPress and create your website.
How to Create a Business Website on WordPress ⚙️
So in order to create your website you need to install the WordPress and to do so you need to log in to your siteground using your Email and password.
Once you are logged in, click on “setup site button” or you can also click on the “websites tab.”
The easy way is to click on the website tab and click on the “create website button”.
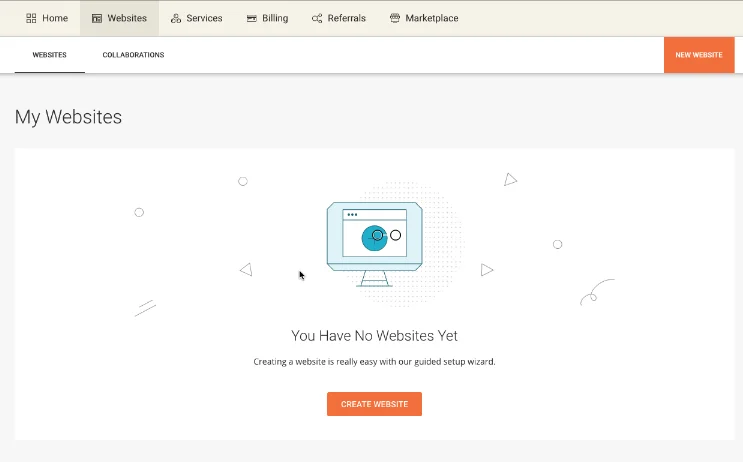
After you have clicked the button, Step one is to “choose a domain” and you will get three options.
- New domain
- Existing domain
- Temporary domain
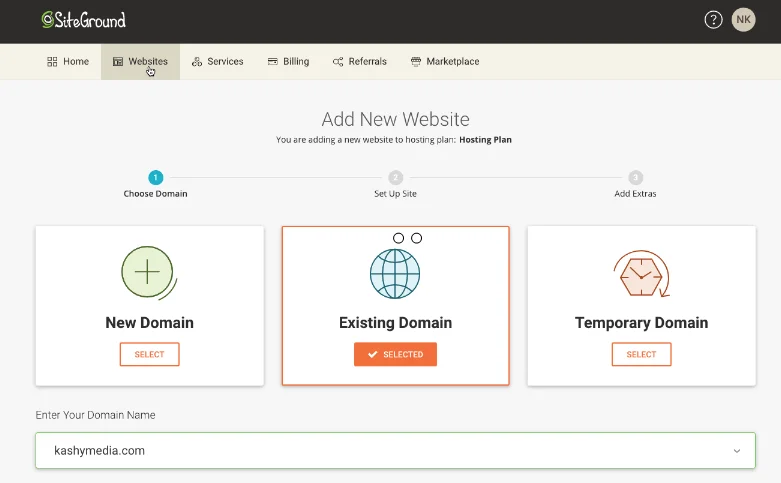
Since we have already purchased a domain we will click on the existing domain name and fill in the domain name that we have purchased and click on the continue button.
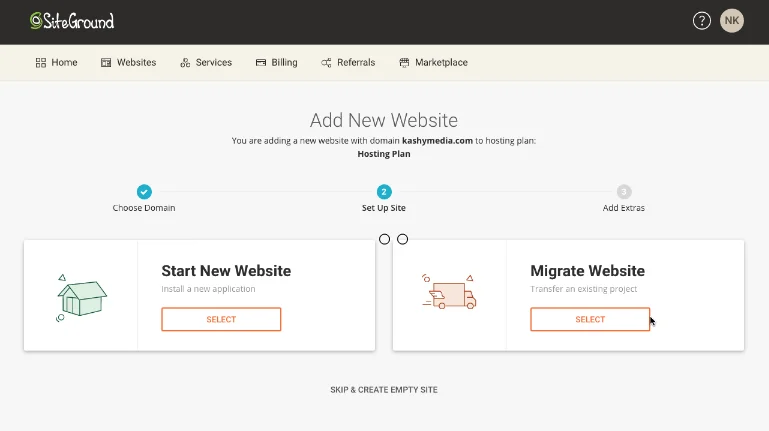
After clicking the button you will be redirected to the second step, “ set up site”
In this step you will get two (2) options
- Start New website
- Migrate website
If you have a website on another hosting company then you can choose the option to “migrate website”.
Since in this tutorial we are setting up a new website we will go with the first option, which is “start new website” and click on the select button.
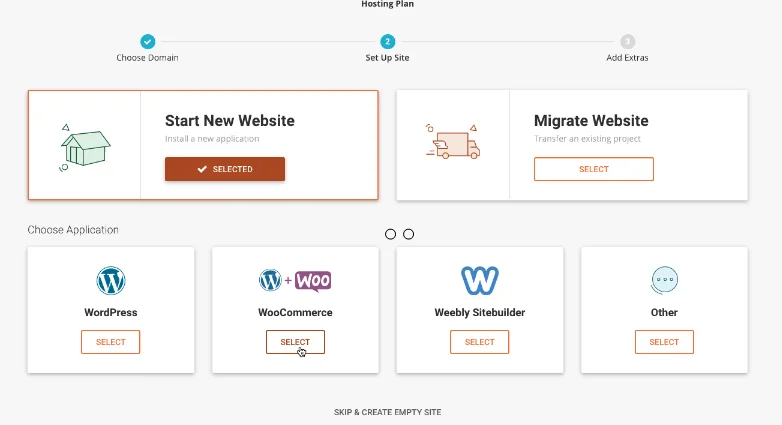
After clicking on the select button you will get a dropdown with the option to “choose an application”.
If you want to sell products online then you need to choose the option of “WordPress + woocommerce”.
If you don’t want to sell any product then choose the first version which is the only WordPress
So now we will choose the second option that is Woocommerce since we also want to sell products in our business website.
After selecting the option Woocommerce that is WordPress + WooCommerce, you will be presented with another dropdown which will ask you to put your email address and password that will be used for your website login.
Please note:- Do not use the same email id and password for your website logging as you have used for your siteground login.
After filling in the email address and password click on the continue button.

In the third step, it will ask you, If you want to add some extra services like the Siteground site scanner. Since we don’t want to use this service we will just click on the finish button.
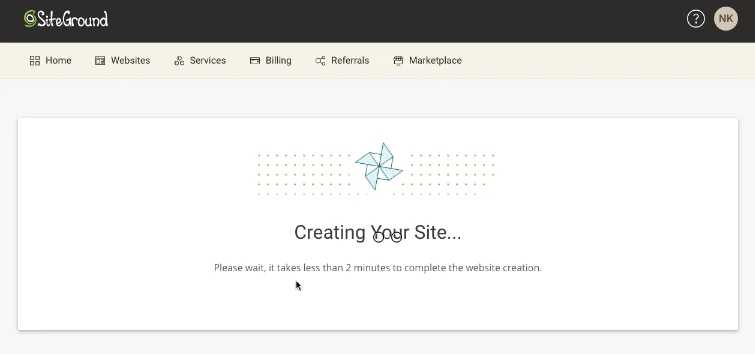
As soon as we click on the finish button. Siteground will start Creating your website and install the WordPress files and other necessary database and files for you.
It will take near about 2-5 minutes.
After the installation is done you will be presented with a Welcome to your WordPress site screen.
Here you need to click on the Start Now button
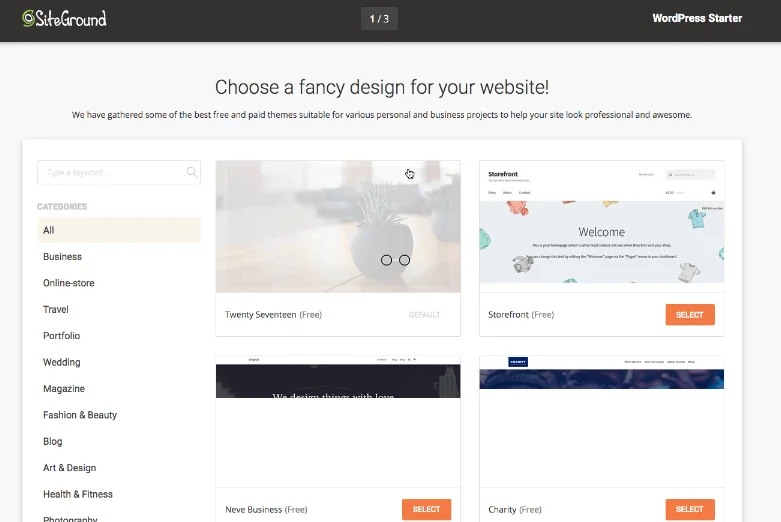
It will ask you to choose any free themes so choose anything right now since we will be changing it later.
The next step will be followed by the plugins section where it will ask you to install the recommended plugins, skip this process by clicking on the Continue button
After clicking on the continue button it will show you a Pop of where it will show you that it’s installing the theme and the database and after the successful installation it will show you another popup that will take you to the Dashboard of your WordPress.
Click on the visit dashboard or visit site button.
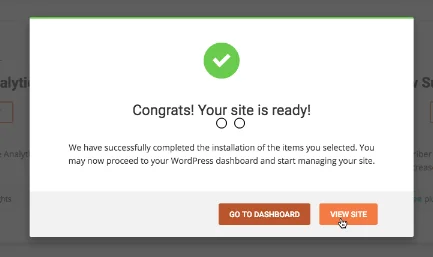
Your website is ready and is online. The only thing that is left is to make your website look like your business website
Designing your Website and Turning it to look like your Business????
This step is a little technical and requires you some knowledge about WordPress and using its plugin and themes.
If you are familiar with how WordPress works then you can install the themes and plugins to make your own business website.
However, if you are not familiar with WordPress, you can hire the WordPress experts from GloriousThemes for about $79.00 to turn your website into your business website.
The plugins that you will require are
You can choose these 3 plugins and only two of them are paid plugin.
The first plugin Elementor Pro is the page builder plugin for WordPress that helps you design and edit any web page on your website without writing a single line of code and using its drag and drop feature.

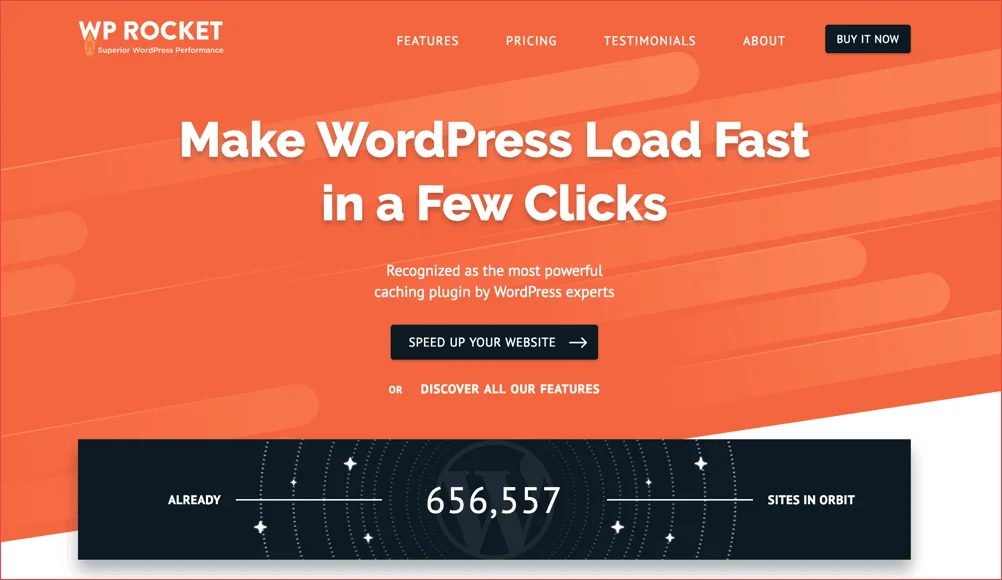
The second plugin WPRocket which helps your website to speed load on any devices by optimizing your website and providing the caching facility.
If you don’t want to design your website or don’t want to hire WordPress experts, you can visit ThemeForest by clicking on this link and purchasing anything that fits your business.
Services by Glorious Themes????
GloriousThemes provide several services for WordPress and it’s by far one of the best WordPress company that I worked with.
The services that it provides are
- WordPress SEO Optimisation
- WordPress Speed Optimisation
- WordPress Designing services
- WordPress Bugs fixing
- WordPress Malware removal
- WordPress Care plan
- and several other WordPress services
Conclusion ????
So in this tutorial, I have shown you how you can create your own business website without spending thousands of dollars for paying high monthly fees to other website companies.
In this tutorial I have also shown how to start your business website with the siteground, however, the process is same with Bluehost and A2Hosting.
If you want to avail discount for your hosting plan you can visit it our A2Hosting coupons, Siteground coupons, and Bluehost coupons.
You can also avail a huge discount during Black Friday, here are the things that are available with up to 95% discount on Black Friday
Read: Black Friday Deals For Bloggers and Marketeers.
If you have any doubts or have any queries feel free to comment down below. You can also contact us on our YouTube, Facebook, and Instagram.
