How To Edit WooCommerce Checkout Page Easily – No Coding
Have you ever wondered how you can make the checkout experience wonderful for your customers? The checkout page is the where you get paid it really important to optimize it and make it user-friendly and really easy for your customers to checkout.
By default, WooCommerce has made the checkout page simple but you can optimize and make it great maybe the best just by tweaking a few settings that can allow you get a higher rate of conversion.
You can Customize The WooCommerce Checkout Page in 2 Ways:
- The Easy Way – Using Elementor/Beaver Builder / Divi Builder and Other Plugins.
- Hard Way – Coding Manually.
I personally love the easy way as it allows me to fully customize the WooCommerce Checkout page and it is mobile friendly and allows me to also add or remove fields from the checkout page. Check out our Complete Guide on WooCommerce.
By default, WooCommerce allows you to customize the checkout page by using hooks and filters. If you are not a developer you will not understand what these things are.
Basically, these are custom functions that allow a developer to plugin-in some other functions with it and customize the final output.
I know it’s hard to understand if you are not a developer because these things are technical. But don’t worry, In this guide, we will teach you how you can easily customize your WooCommerce Checkout page using a plugin.
The plugin that we are going to use in this tutorial is Cartflows Pro. Cartflows Pro allows you to design, customize, add and remove fields on the checkout page so that your conversion rate increases significantly.
so Let’s get started with our tutorial.
Disclosure: I may receive affiliate compensation for some of the links below at no cost to you if you decide to purchase a paid plan. You can read our affiliate disclosure in our privacy policy.
Edit WooCommerce Checkout Page the Easy Way
In this section, we will cover how you can customize your checkout page easily with the help of a plugin. The plugin that we are going to use is CartFlows.
CartFlows comes in two variants free and the pro. In this tutorial, we will be using Cartflows Pro and our WooCommerce Store is Hosted on BlueHost.
Step: 1 : Downloading and Installing CartFlows Pro.
The first thing we need to do is to to download CartFlows Pro. Click the below button to download CartFlows Pro.
Note: You can use Cartflows free version, but the features would be Limited and you cannot access things like :- edit checkout fields, check out offers, cart abandonment, upsell and Council, premium templates and top-notch premium support.
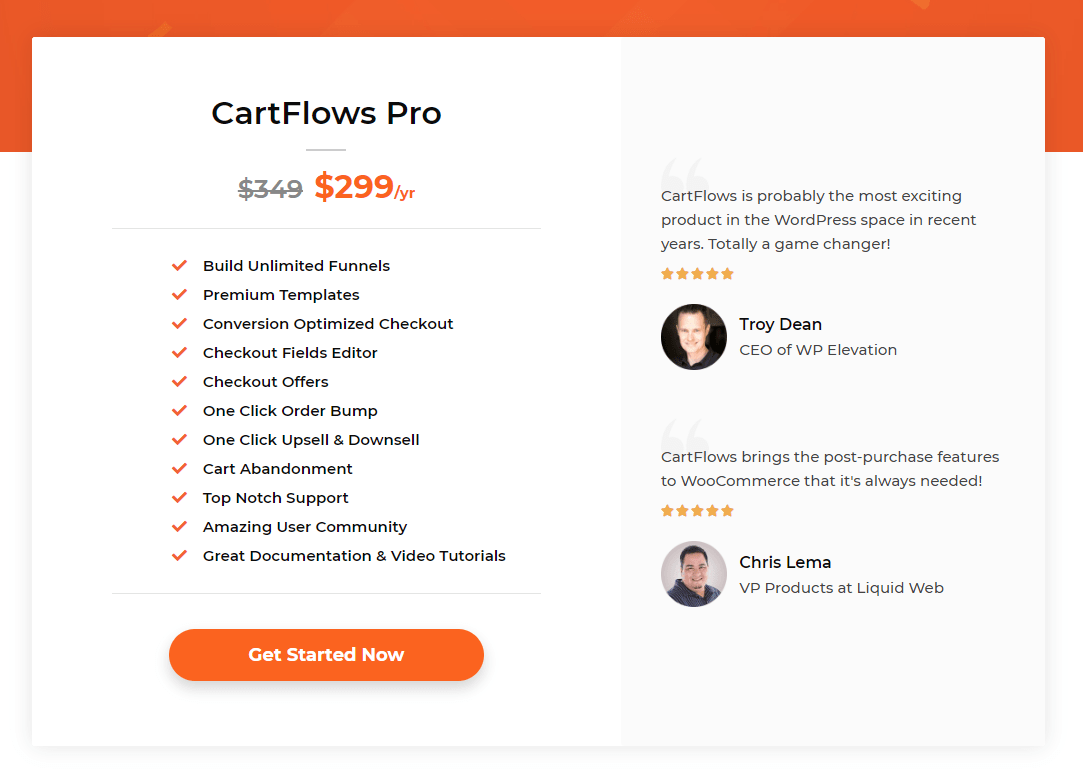
Click on “Get Started Now“, CartFlows Pro cost around $299/year.
Then you should be redirected to the Billing page where you need to fill your name and your address and payment details.
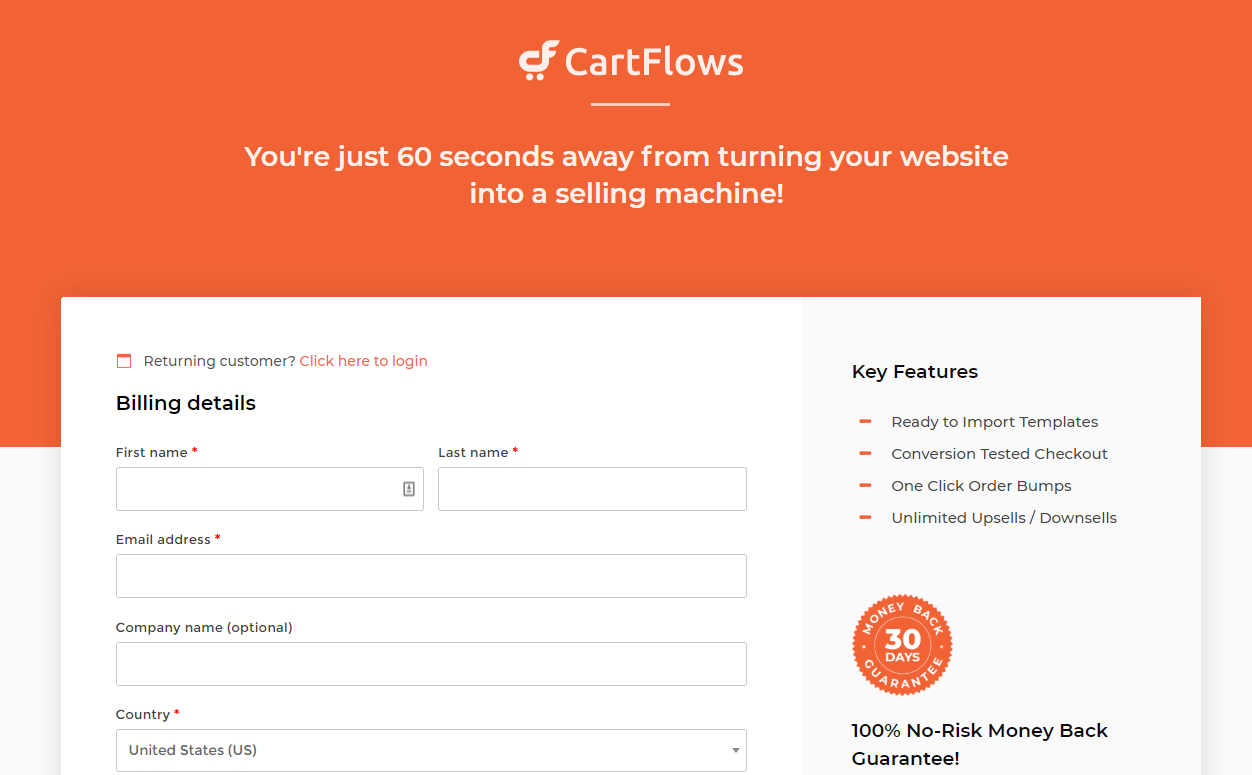
You can also apply a Coupon Code, but coupon codes are subject to availability. Coupon Code for CartFlows Pro can be found here.
Then choose your payment gateway. You can choose to pay via a credit card or PayPal. Tick the checkbox for the terms and conditions and proceed to the make the payment.
Once the payment is done you will be inside your account in CartFlows Pro. Download CartFlows Pro and also copy the serial key(License).
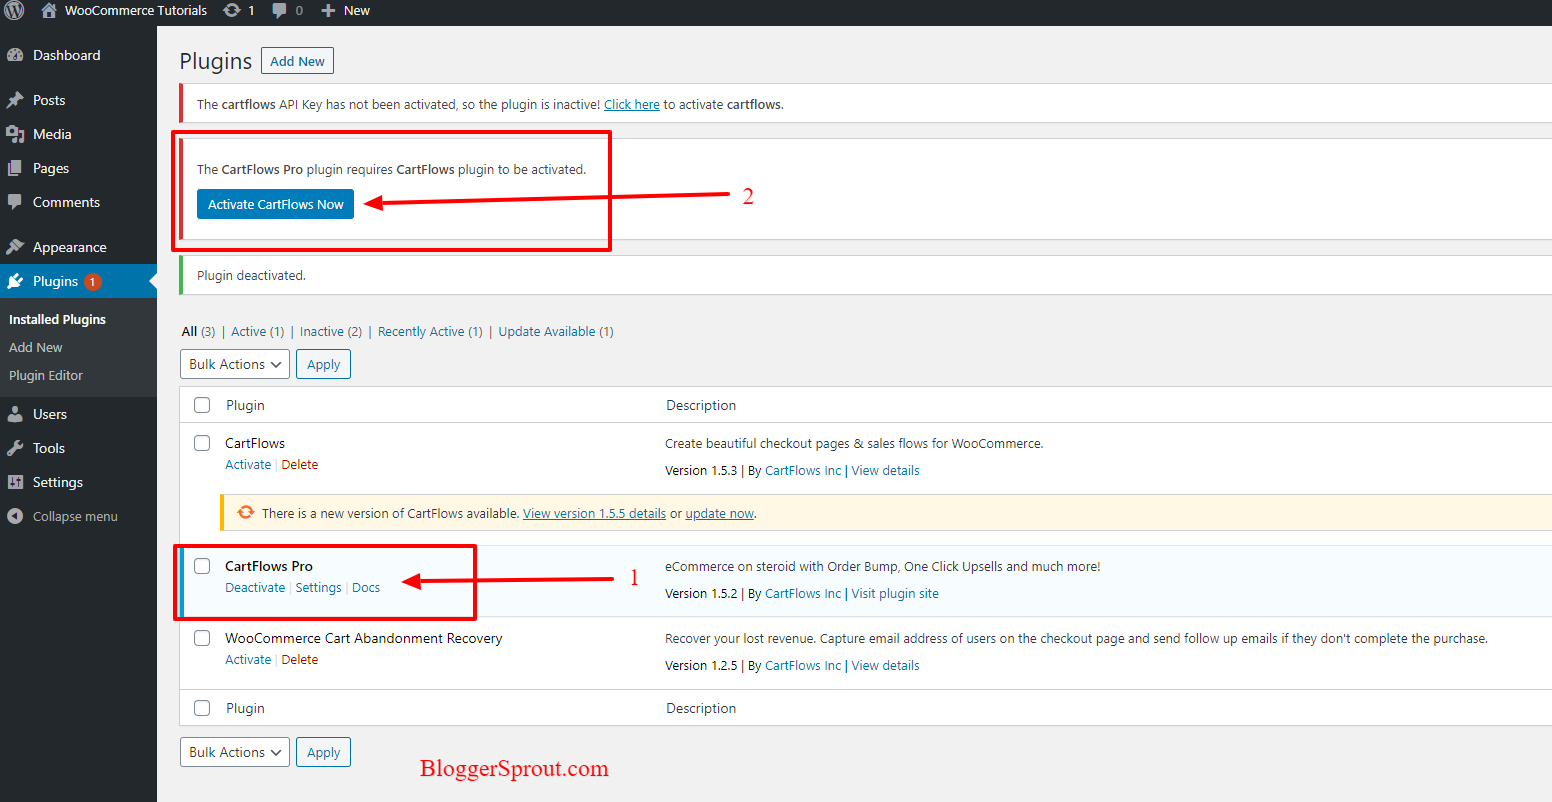
Go to your WordPress Admin > Plugins > Add New > And upload the CartFlows Pro plugin.
Then activate CartFlows Pro, you will be asked to download CartFlows Free version from WordPress repository.
To install the free version of CartFlows
Go to WordPress Admin > Plugins > Add New > and search for CartFlows or you can click the button that says “Install CartFlows Now“.
Install and Activate the CartFlows Free plugin.
Then Activate The License of CartFlows Pro by clicking on CartFlows in your WordPress, Paste your serial key and activate the plugin. This will enable you to have regular updates and access premium templates.
Step: 2 : Customizing Checkout Page.
After you have activated both the free and the paid plugin of cartflows. A new popup will appear that will prompt you to start the wizard to setup the cartflows settings.
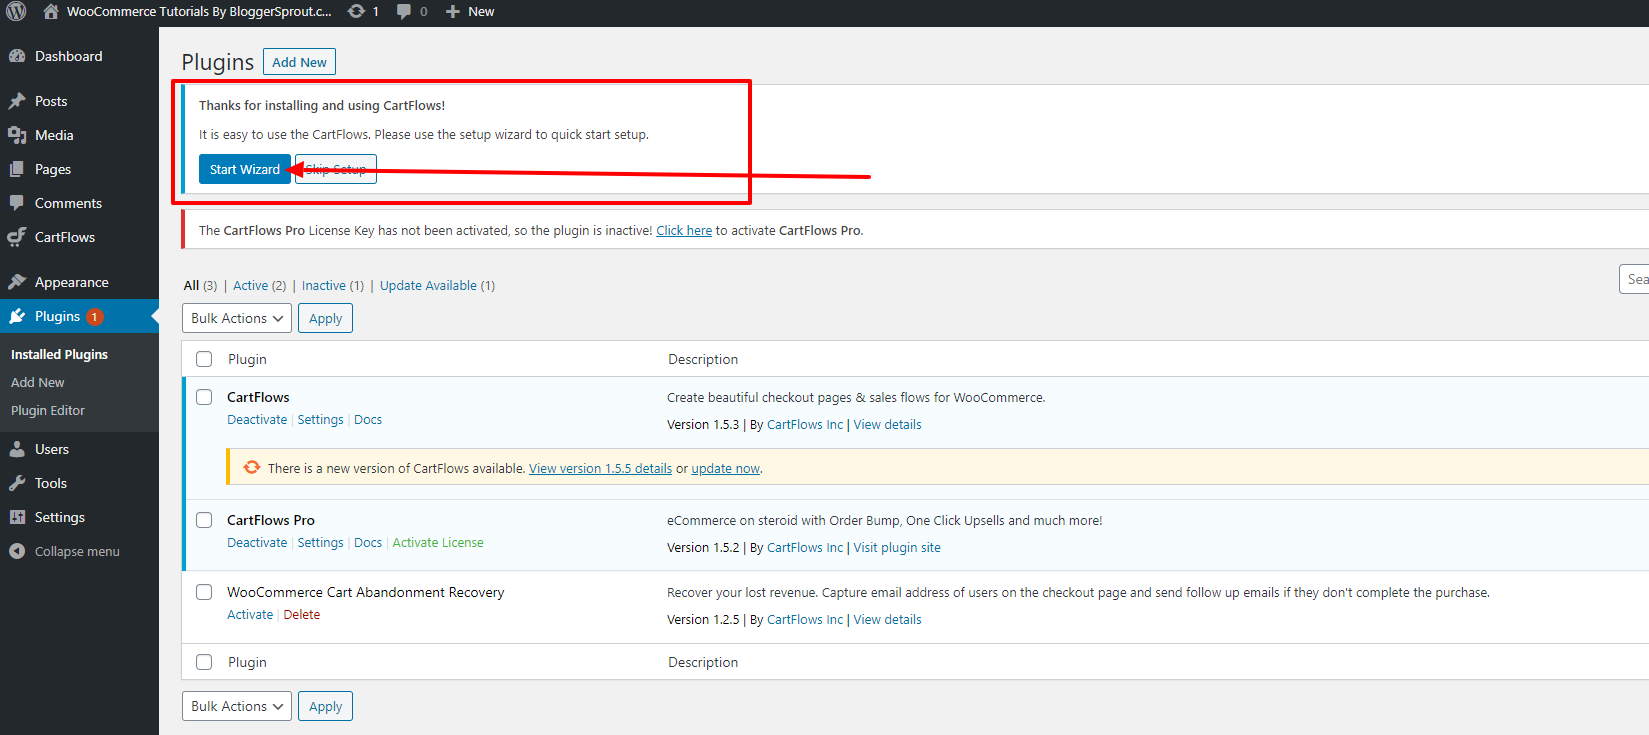
Click on it. It has 5steps.
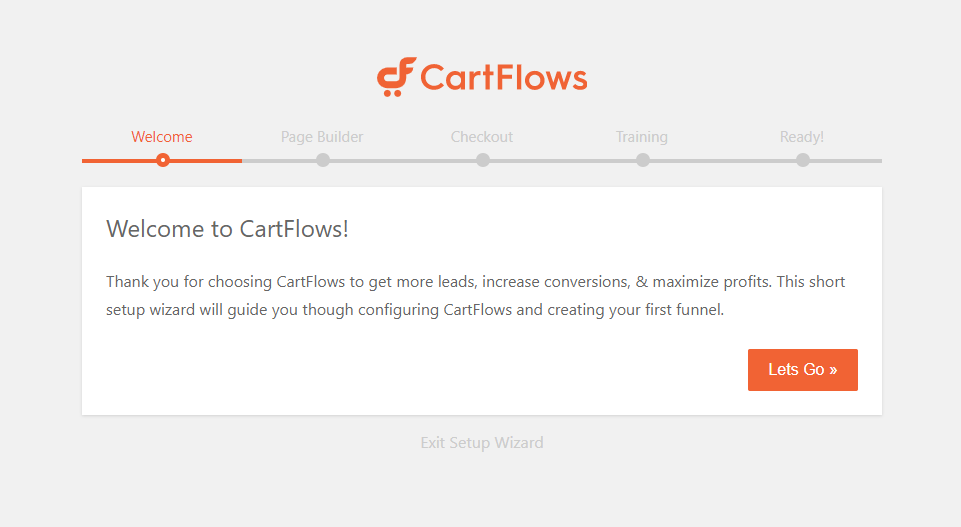
Step: 1
The first step is Welcome. Just click the “let’s go” button and proceed to step 2.
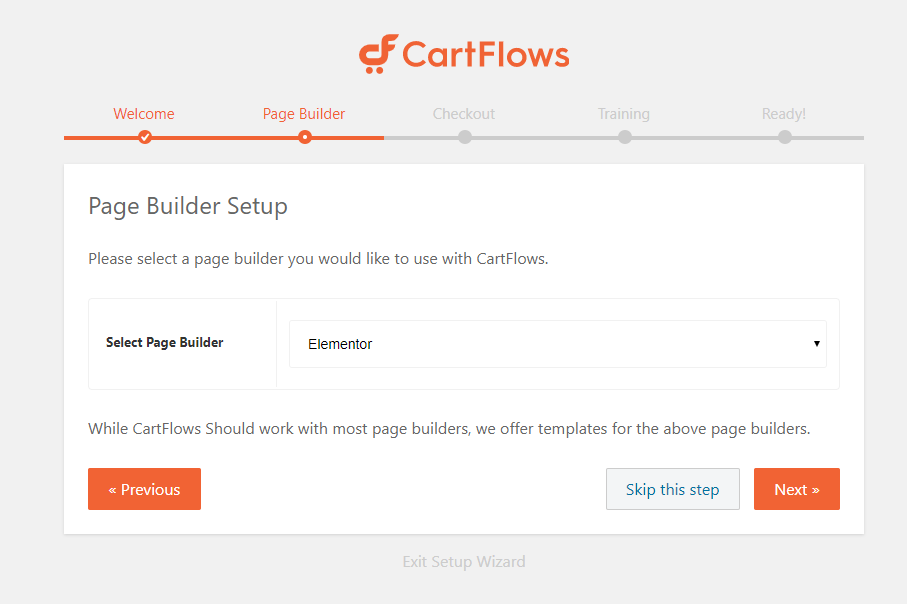
Step: 2 – To choose your page builder.
In this step, you need to choose the page builder that you use. Since I use Elementor. I will choose the elementor and click on the Next button.
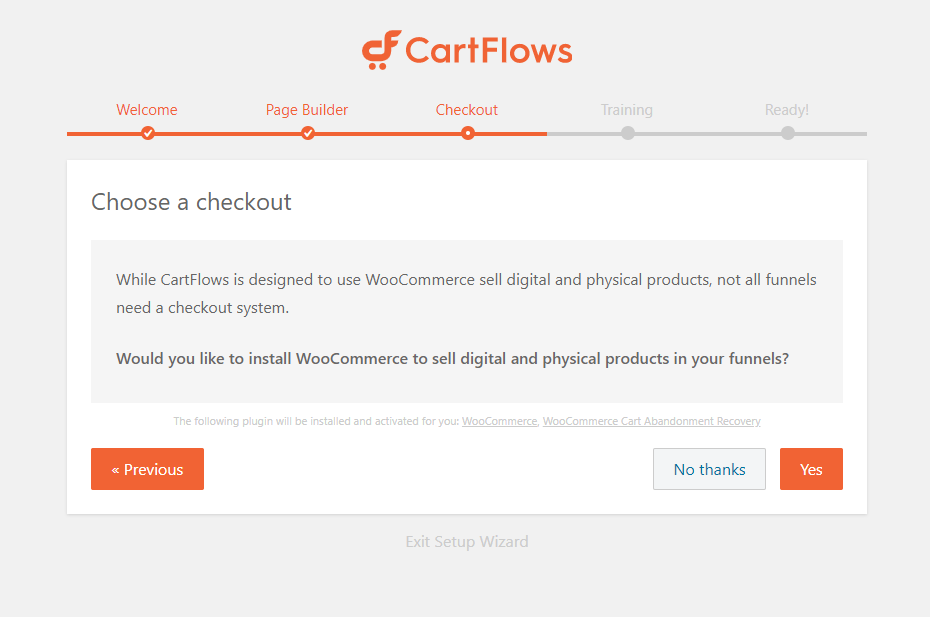
Step: 3 – Checkout
In this step you will be asked to install woocommerce and woocommerce cart abandonment recovery plugins.
These plugins are free and will be installed from WordPress repository automatically if you click the yes button.
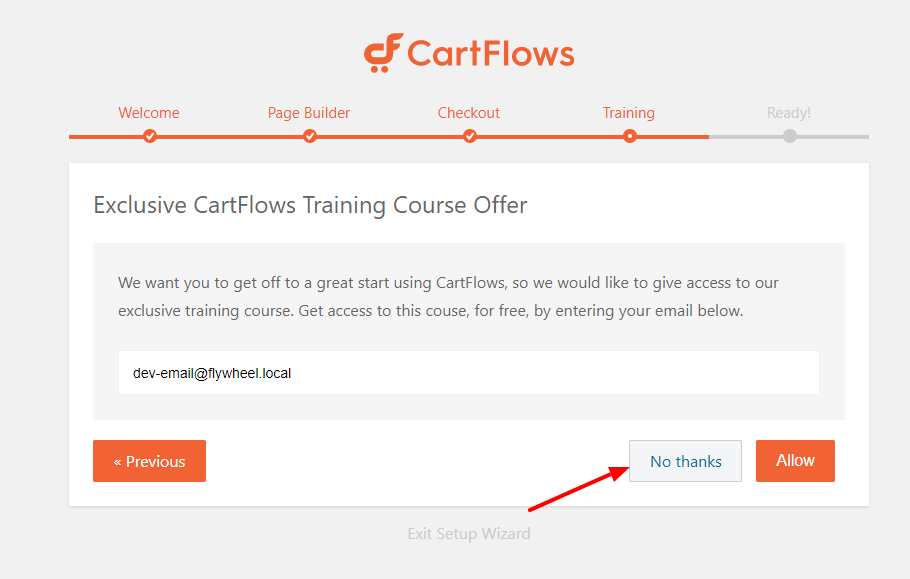
Step: 4 – Training
So I will skip this process and I will click on no thanks button.
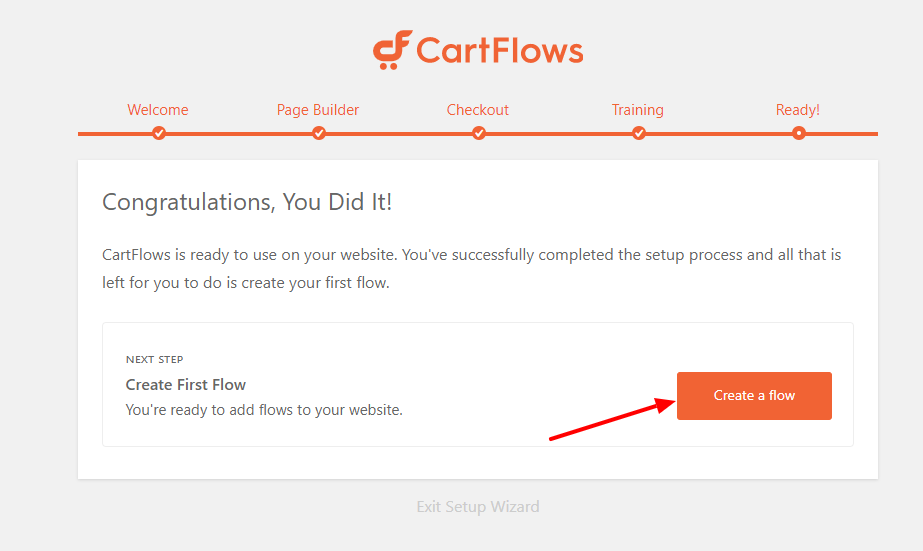
Step: 5 – Final and Ready
So if you have reached the final step, your settings are almost done. Now you need to click on the orange button “Create a flow” and make a page. So that you can customize your checkout page of your WooCommerce.
Creating a Flow in CartFlows
After you click on the create a flow button, CartFlows Pro will create a popup and ask you to import their premium templates with the click of a button.
Import the template that you like or you can create a blank from scratch. I would always suggest you import template as that makes your task easy and you can customize the template using Elementor.
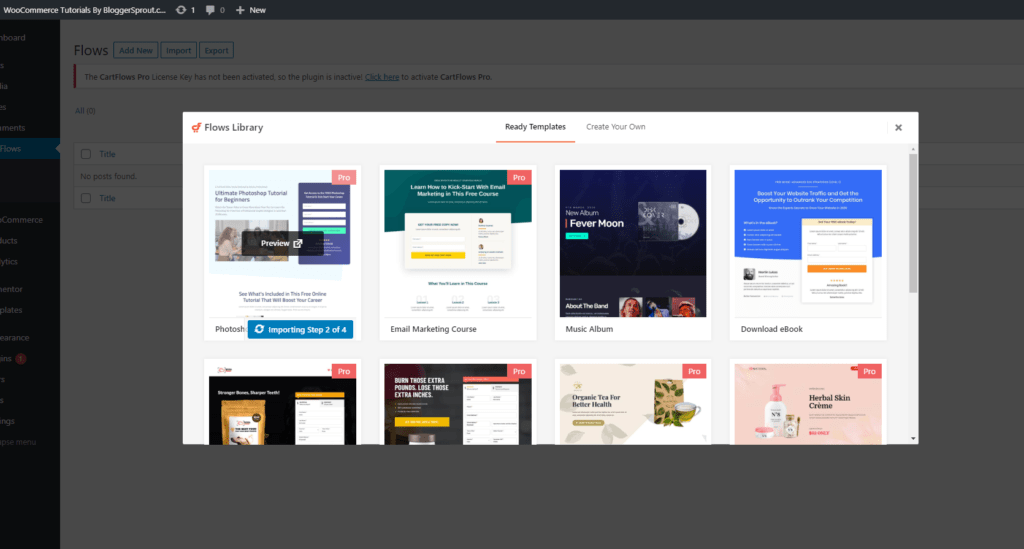
Add a Title to your flow name, and click on the update button.
Note: You must have at least one WooCommerce product created to use CartFlows.
After you have imported and created the Cartflows, you need to assign a product to each Cartflows checkout that you create.
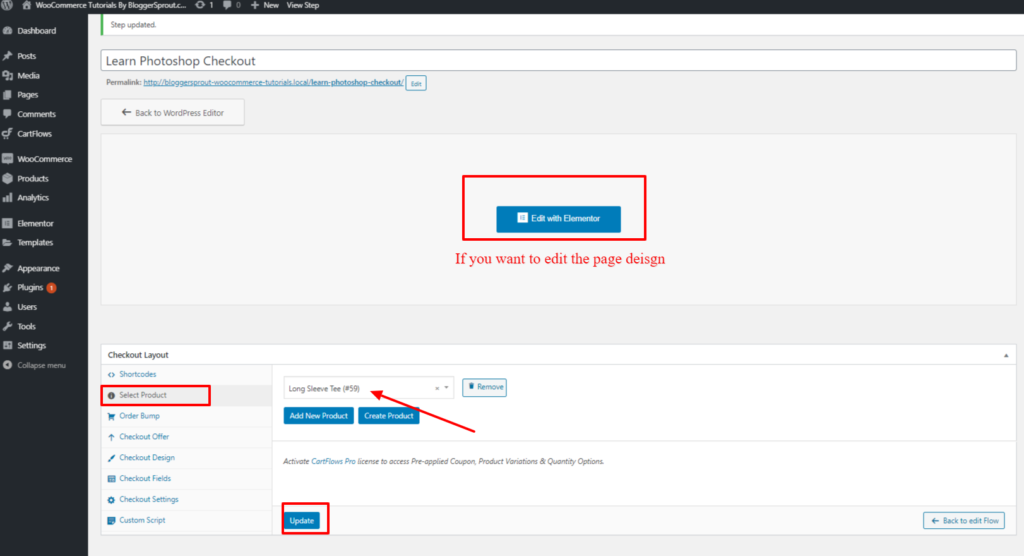
After assigning a product to the cartflows checkout, Click on update and view the page.
You will find an awesome looking fully customized checkout page is ready to be used.
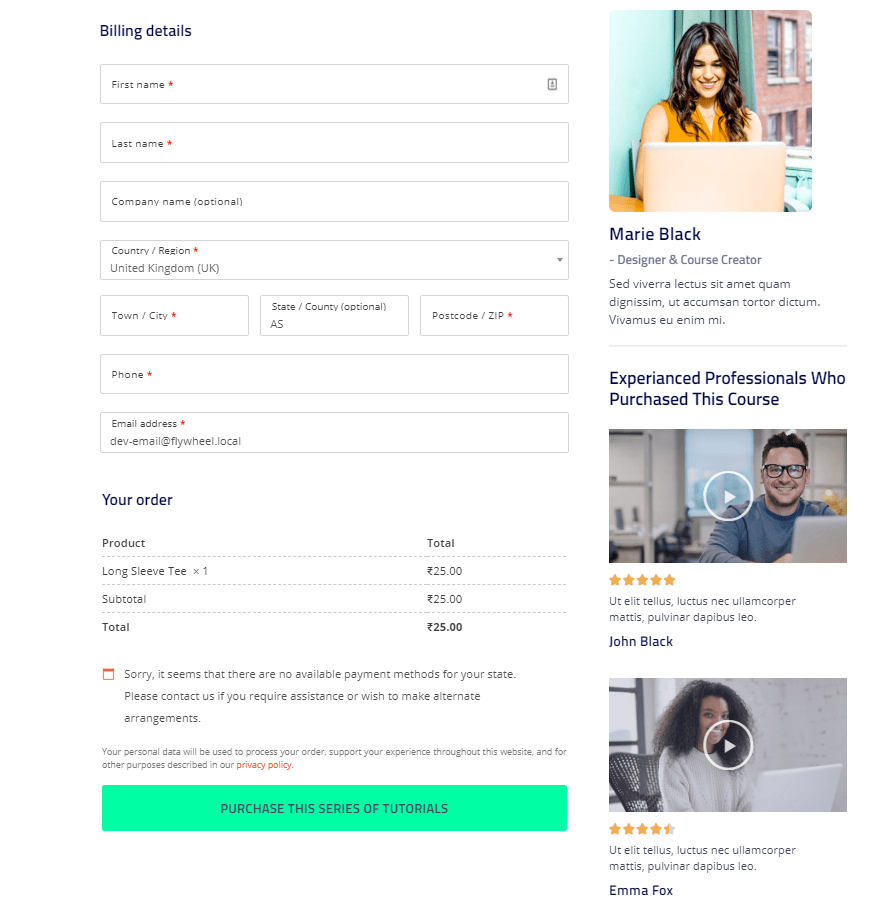
You can also customize, add and remove the fields from the checkout page as per your liking. But in order to do that you need to have Cartflows Pro.
After customizing the Checkout Page, you may also want to customize the My Account Page on WooCommerce Easily.
Conclusion
We also have a video tutorial on how to customize the Checkout page easily without coding. How To Edit WooCommerce Checkout Page Easily is a part of the Complete Guide to Woocommerce.
If you have any questions, you can ask the expert of WooCommerce and WordPress from GloriousThemes by Commenting Below.
If you have any doubts you can comment below, or contact us or use #AskNiraj ask ask questions on Instagram, Facebook and Twitter.

Bonjour, tuto très intéressant !
Est-il possible de supprimer des champs du formulaire de paiement en bricolant du code (version gratuite de cartflows) ?
Merci d’avance
Non, jusqu’à ce que vous soyez profondément en programmation
Bonjour, tuto très intéressant !
Est-il possible de supprimer des champs du formulaire de paiement en bricolant du code (version gratuite de cartflows) ?
Merci d’avance
Non, jusqu’à ce que vous soyez profondément en programmation