21 Most Important Settings after Installing WordPress
Have you just completed your self-hosted WordPress installation, and now you want to know what to do next, then you should definitely check the 21 Most Important Settings after Installing WordPress
After successfully having a WordPress installed, there are some things you need to do to secure, speed up and SEO optimize your site. There are a lot of things that you need to take care before allowing your blog to go public.
A few tweaks in your WordPress settings can make your site become much more beautiful and Audience friendly within a few minutes.
For proper presentation, the essential WordPress settings are laid into a step by step process.
Disclosure: I may receive affiliate compensation for some of the links below at no cost to you if you decide to purchase a paid plan. You can read our affiliate disclosure in our privacy policy.
Remove Dummy Content – Delete Default Post, Page, and Comment Settings after Installing WordPress

By default, WordPress creates some dummy content in your website. Delete them right now before you forget to do so. There are four pieces of default content in WordPress –
a) Sample Comment: WordPress creates a demo comment and to remove the comment, click the ‘Comments’ link on the WordPress website dashboard. Hover over the comment body and click ‘Trash’.
b) Sample Post: WordPress creates a “Hello World” demo post and you should remove the sample post by going to Posts -> All Posts and click ‘Trash’.
c) Sample Page: WordPress creates a sample page titled ‘Sample Page’, go to Pages -> All Pages. Hover over the page and click ‘Trash’.
d) Hello Dolly Plugin: WordPress will also install a dummy plugin and in order to remove the plugin, go to Plugins -> Installed Plugins titled ‘Hello Dolly’ and click ‘Delete’. In the next screen, click ‘Yes, Delete these files’. This will delete the plugin files.
Change The Title, Tagline, Time and Date
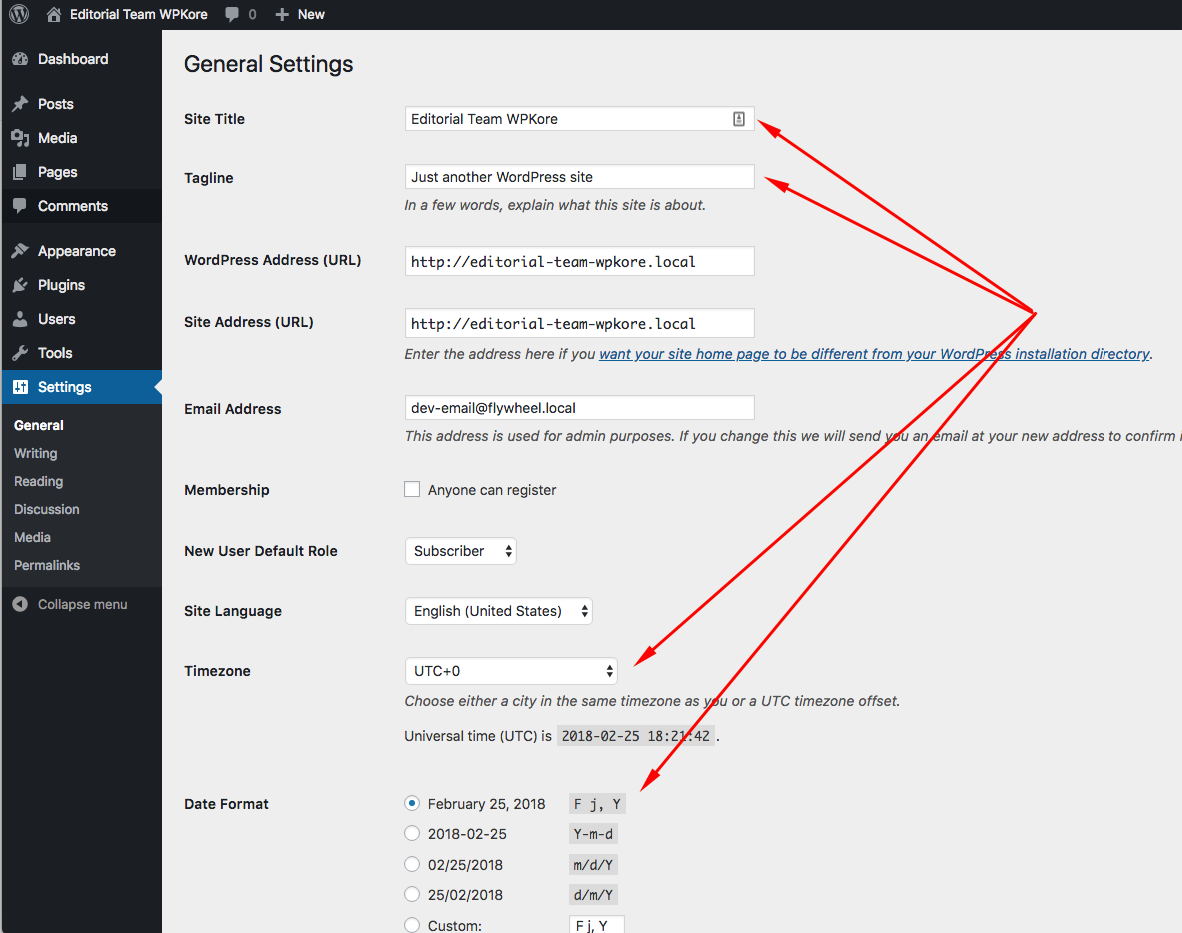
Most people forget this setting and leave it as default, but you should not make the same mistake. You can change all these settings on the same page. To do that, go to Settings -> General.
And change the Site Title, Site Tagline, Timezone, Date format, and Membership. Change them according to your location/requirement. After making all the changes, click ‘Save Changes’.
Configure the Reading Settings
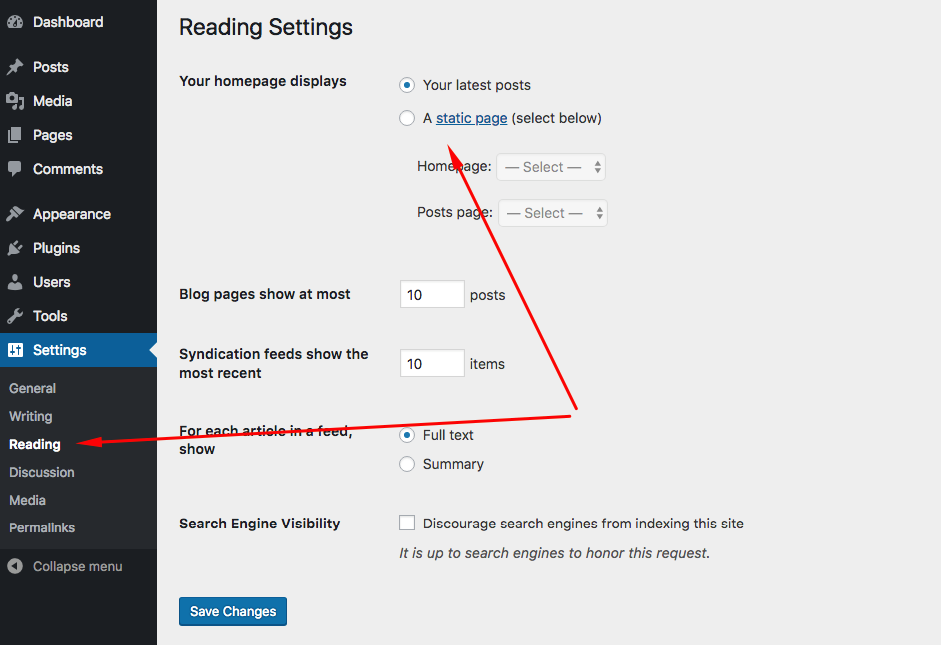
By default, WordPress will show the blog posts on your homepage. If you want to show a custom home page and another page for blog posts, you need to make the changes.
To do this change you need to create two new pages titled ‘Homepage’ and ‘Blog’. Then, go to Settings -> Reading. In the ‘Front page displays’ option, choose ‘A static page‘.
For the Front Page, Select Homepage and for the Posts page choose Blog. Then hit the save changes and you are done.
Change your Permalinks Structure
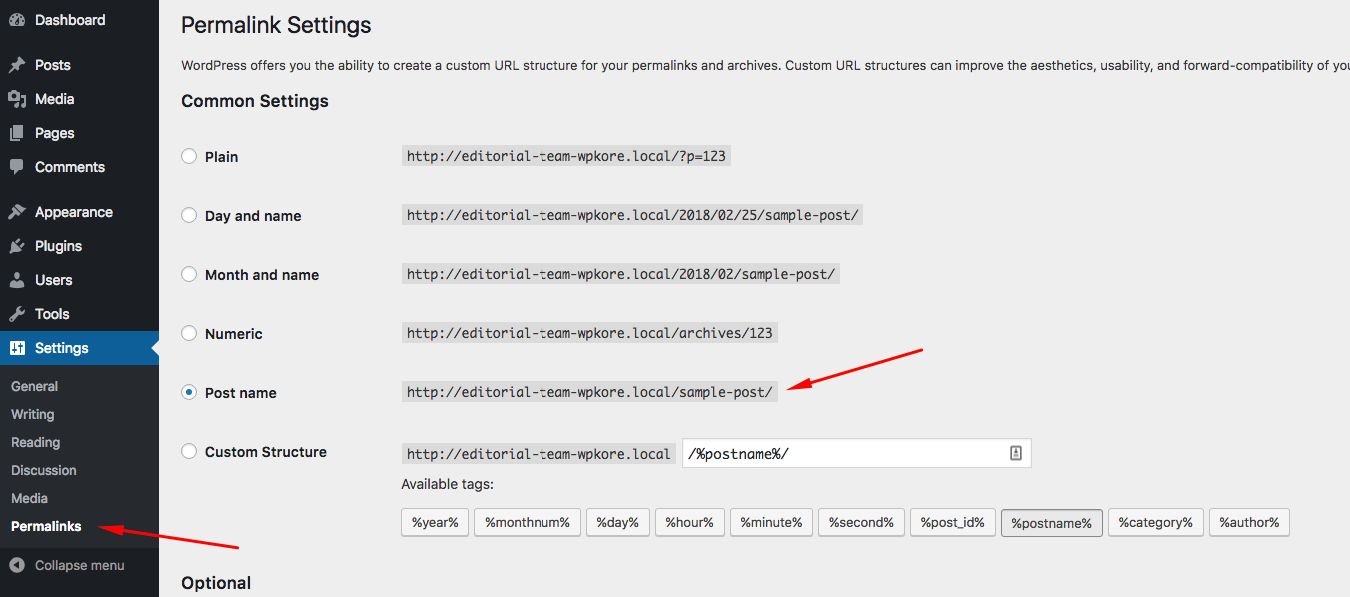
Permalinks structure is the address for your post and pages. Like on WPKore our permalink structure is %postname%. We have changed the default permalink because I personally doesn’t like it and its not perfect for everyone.
To change the default permalink structure, go to Settings -> Permalinks and choose the type of structure you want. Click save changes.
Clean up Your WordPress Dashboard
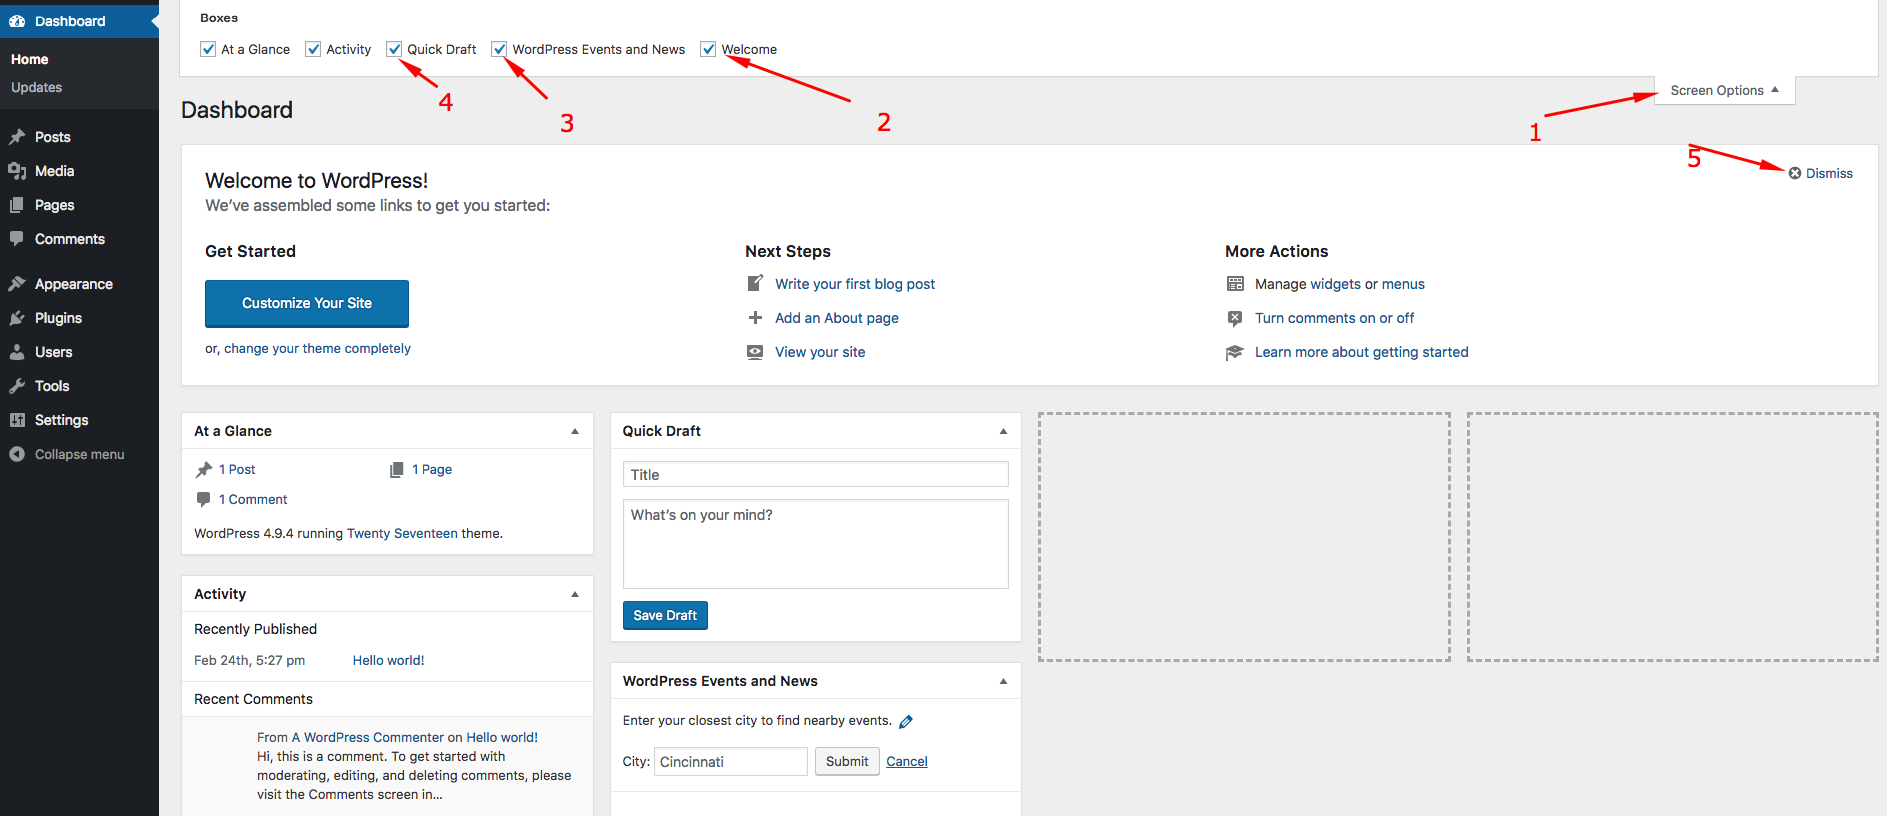
A fresh installed WordPress has a ton of widgets and unnecessary things loaded on your dashboard. The dashboard contains some important widgets that you want to see daily and some widgets that only end up consuming the dashboard area.
On your WordPress dashboard, look at the top right and you will find the ‘Screen Options’ drop down option as shown in the image below:
Once you click it, a drop-down menu appears, uncheck the boxes for whose dashboard widget you don’t want to appear.This setting helps you to remove clutter from your dashboard and avoid confusion especially if you are new to WordPress.
Enable/Disable User Registration
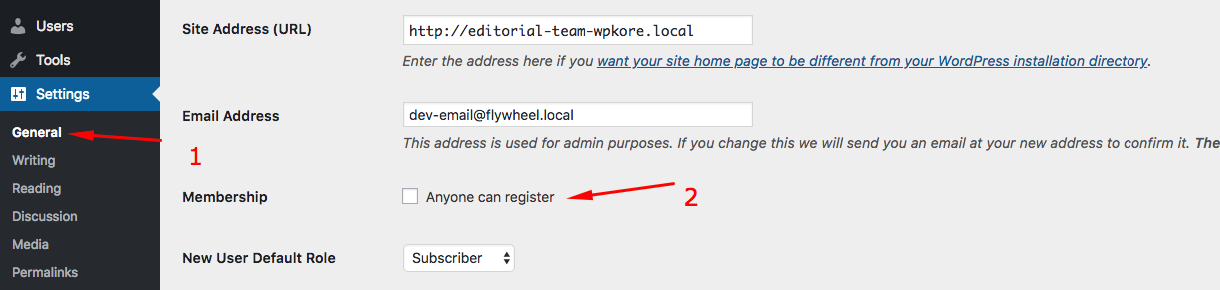
WordPress by default keeps the membership on, which means people and bots can register to your website and try spamming your blog. So many WordPress blogs doesn’t require users to register, so it is better to turn it off.
You can turn the registration off by Visiting Settings -> General and unchecking Membership.
Add New Categories
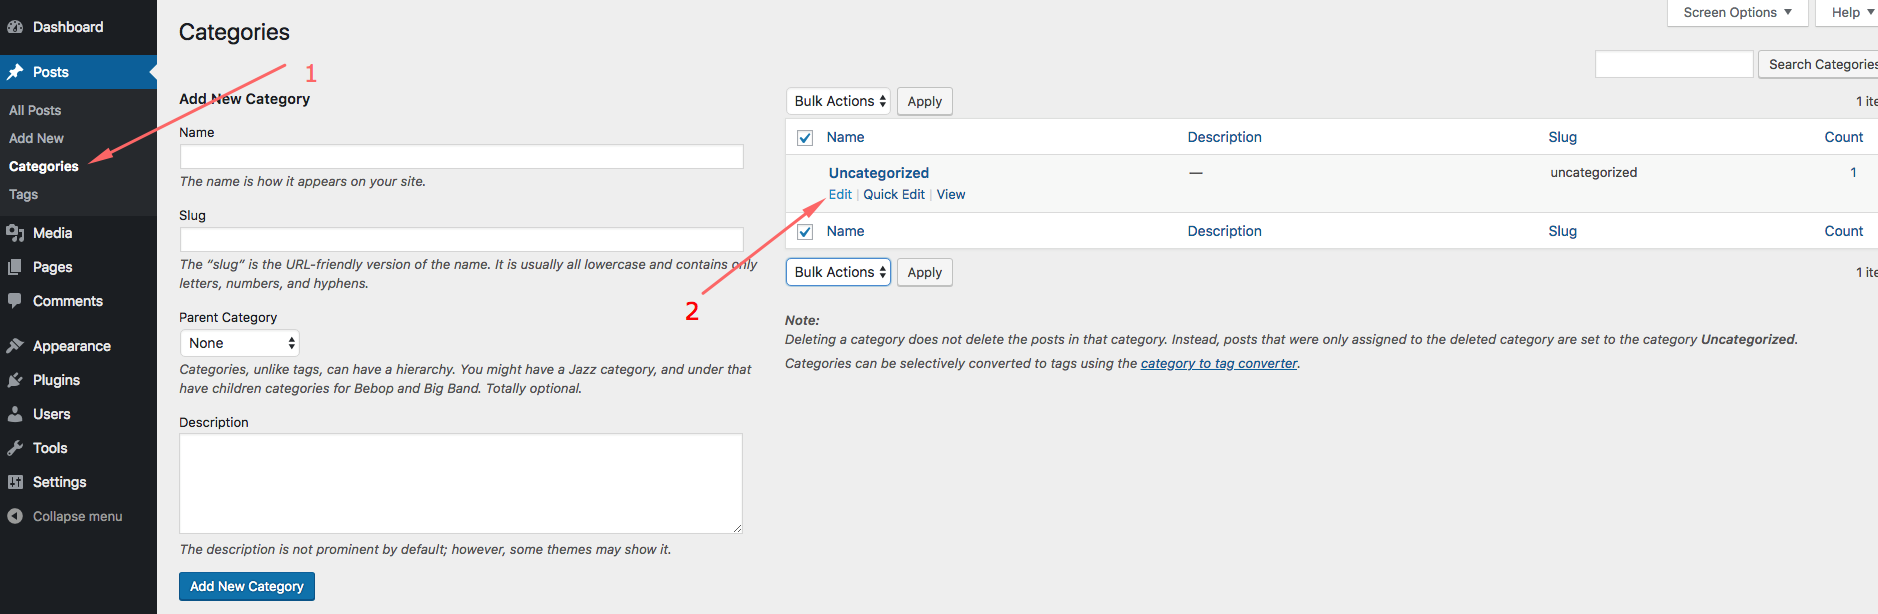
WordPress creates a default category and it is named uncategorized, which is not something you would like your blog post to be Categorized in. But the twist here is that this category cannot be deleted, as it is the default category.
But you can rename it to anything you want. In order to rename it, go to Posts > Categories, select uncategorized and click edit. Rename it to something you like and hit save changes.
Delete Unused Themes & Install your Theme

WordPress by default comes with 3 themes, and most of the bloggers or business that use WordPress use a custom Premium theme rather than default WordPress themes that comes bundled.
Its always a good thing to delete any themes that you dont use on your WordPress site. But before you go and delete any theme, its better to add your theme first. To do so, go to Appearance > Themes > Add New > Search or Upload your theme > Install and Activate it.
In order to delete those default theme, you need to go to Appearance > Themes, click on theme details and click the delete button.
Install Necessary Plugins
Since WordPress comes with a pre-installed plugin named Hello Dolly, but there are a lot of things that you should take care of since WordPress can’t handle everything from itself. Like spam handling, security, caching, lead capture and several things.
Visit our plugins page to learn what plugins are good for you.
Or you can also check out our resources page where you can find the plugins we use on WPKore.
Install a Cache Plugin
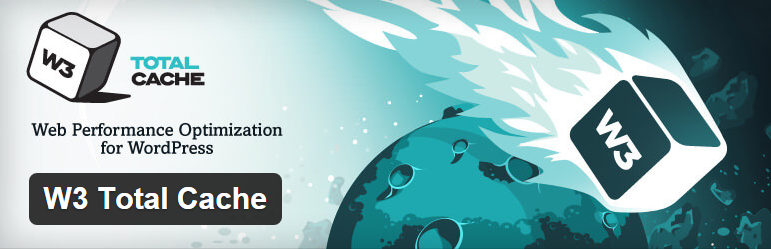
To speed up your WordPress load time you must definitely use a caching plugin. There are two most popular WordPress caching plugin; WP Super Cache and W3 Total Cache. I personally like W3 Total Cache since it has CDN functionality which helps to improve the page load speed significantly.
Improving WordPress Security
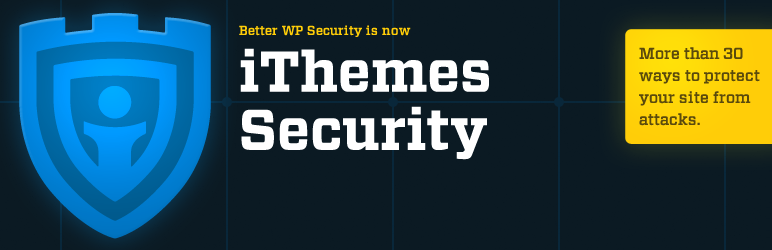
WordPress sites are easily hacked, especially those sites that are not well secured. After installing WordPress, you should begin taking all the necessary precautions to secure your site. The most efficient way to secure a WordPress site is using a reputable free security plugin.
Install an Anti-Spam Plugin
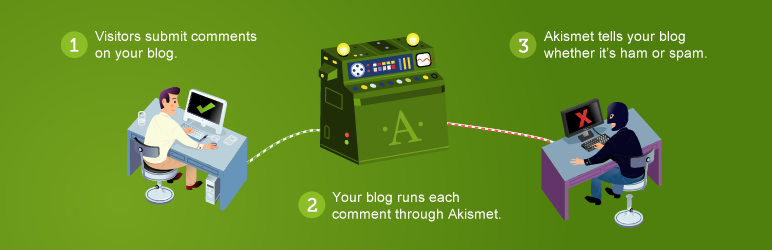
Since WordPress is widely used to create blogs, its most likely to receive spam contents and spammers hit to your blog and the most common way spam hits your blog is through the comment system.
To stop this you can install a free anti-spam plugin called Akismet.
Start Scheduling Regular Backups
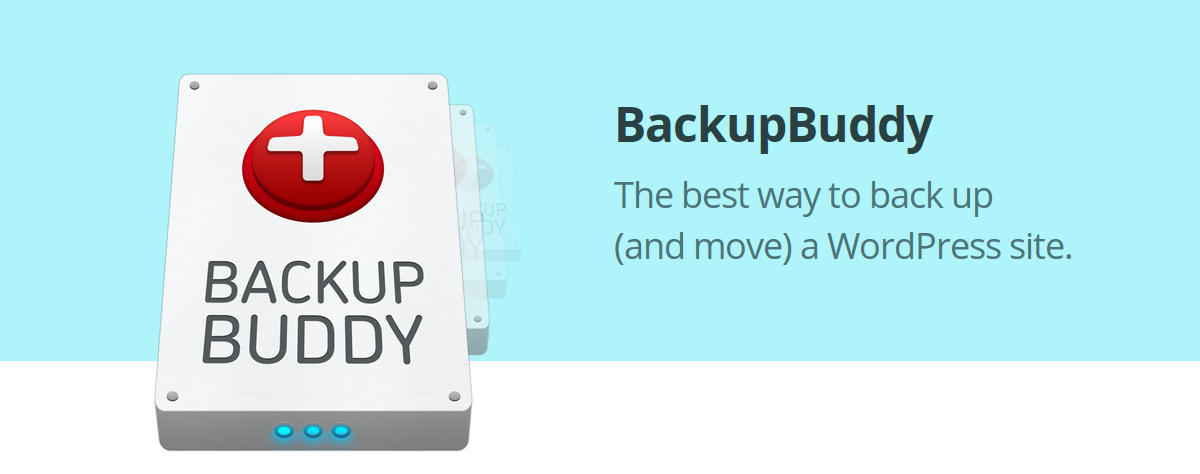
The biggest mistake that most bloggers and WordPress owners make is that they ignore the backups and when something goes wrong they regret that decision. Having a regular backup done is just like having a second life for your blog if anything goes wrong.
Use BackupBuddy as your WordPress backup plugin.
Adding Google Search Console and Verifying Your Website
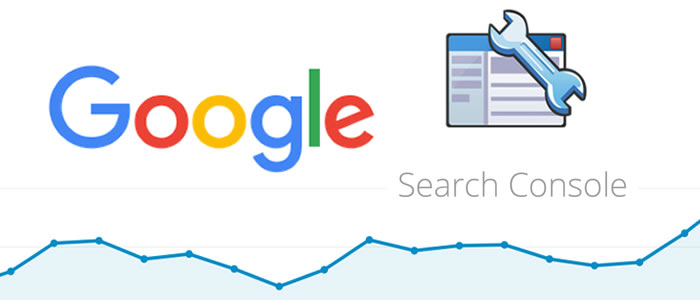
Google Webmaster Tools lets you know when crawl errors occur on your site and allows you to control what things get indexed in google and . It also provides detailed data regarding your site search index, rankings, 404 errors and general SEO health of your site.
Google Analytics
![]()
Google Analytics helps you to track your visitors and lets you know your daily, monthly and annual traffic of your website. Google analytics is a free tool that every WordPress site should have and be using it. You can install Google Analytics using plugin, Theme or just copy or paste in header.php.
Update your WordPress profile
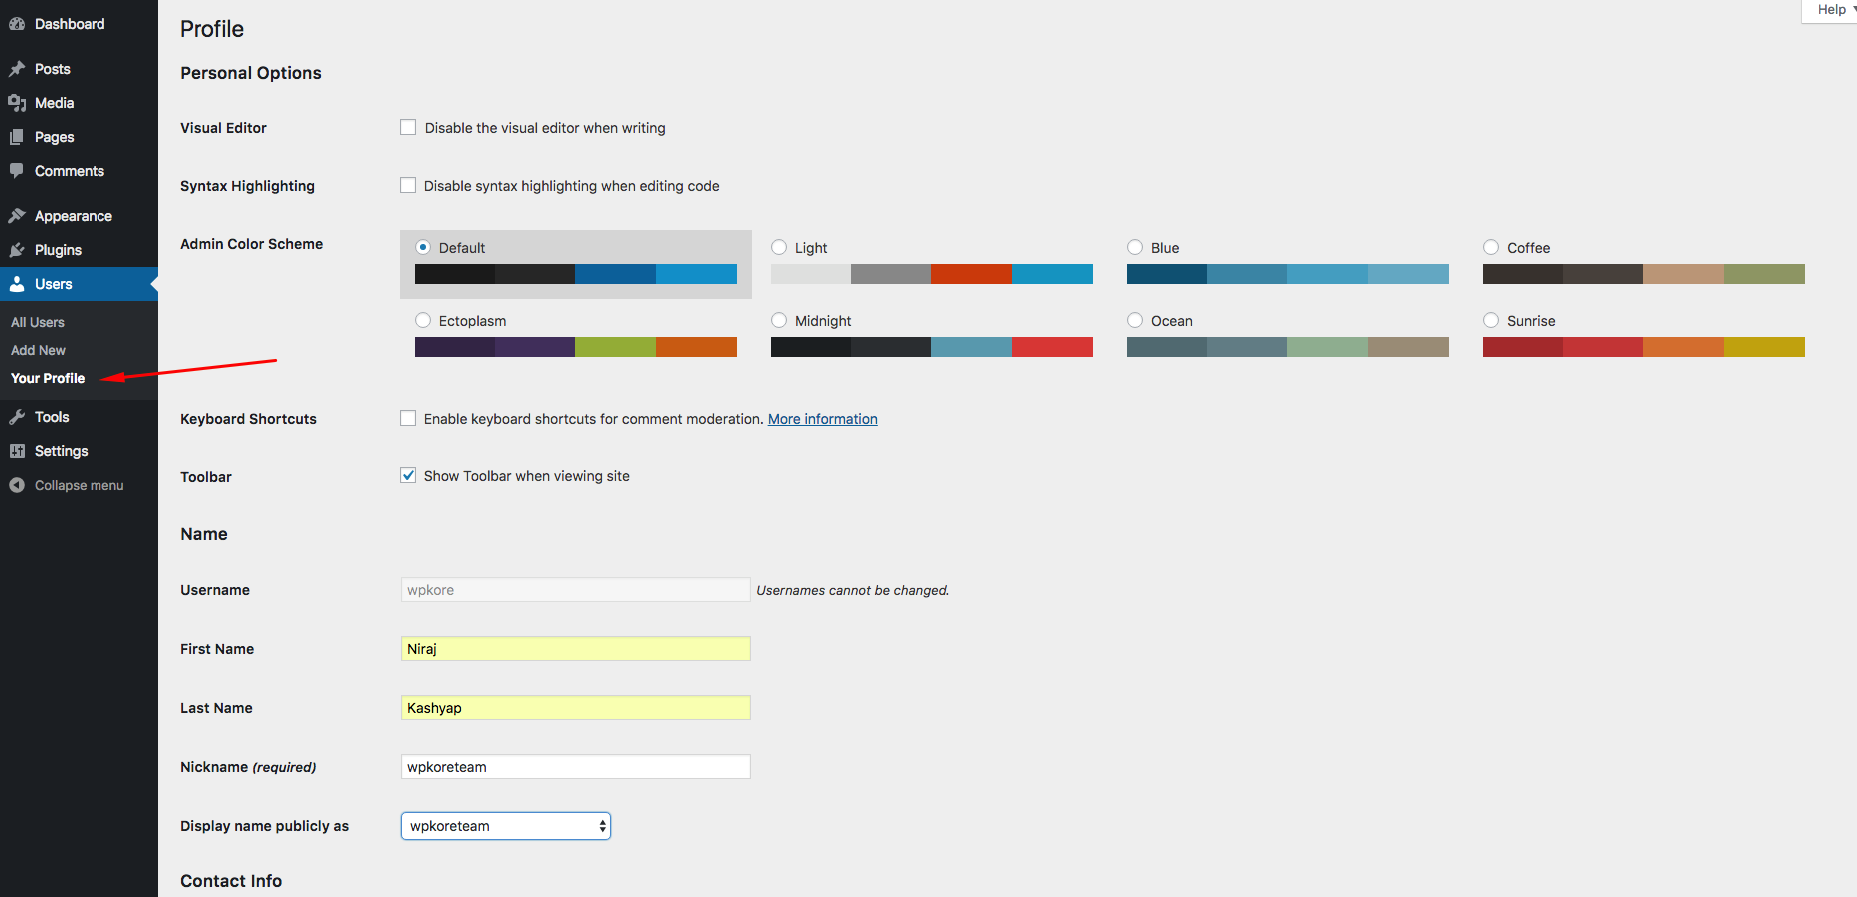
You should update your author information which includes; the display name, the bio, and social media links.
- Update your profile under the Users > Your Profile, where you can add a brief bio about yourself.
- Add social media links that will appear on your author bio.
Install Yoast SEO WordPress Plugin

To rank your WordPress posts and pages higher in search results you need to use SEO plugin. There are a number of SEO plugins that can help you to achieve those goals. Yoast SEO is widely used plugin and one of the most popular plugin.
Install broken link checker
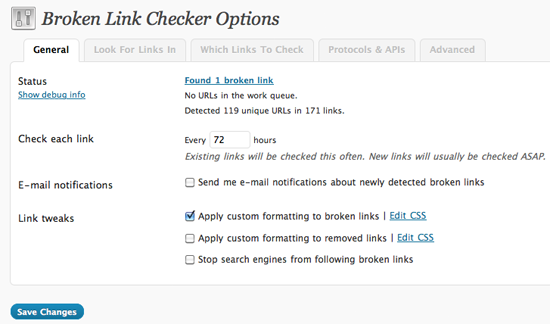
It’s very important to know which links are broken on your site and fix them asap. By default, WordPress doesn’t have a specific link management and its very hard to manage links directly and if any link has been broken or turned to be broken during the time course. You cannot fix it if you don’t know where to find the link.
Broken links on your site have a negative effect on your SEO. There is a free Broken Link Checker plugin available in the WordPress repository.
Add Google XML Sitemap
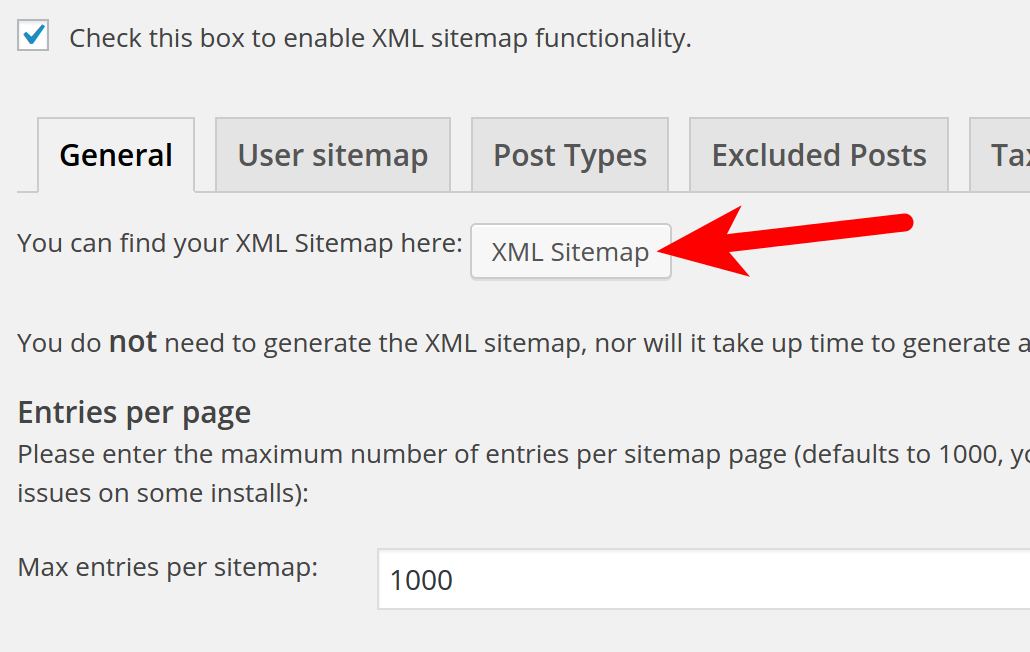
XML Sitemap is the best way to alert google of your new post and contents. Once you submit your xml sitemap, google bots and spiders will crawl your blog using that xml sitemap and index your post and pages.
XML sitemap auto-updates itself on every blog post and articles you publish and alerts google if the XML sitemap has been submitted in it.
You can use the free plugin – Google XML Sitemap to create your own sitemap or you can also use Yoast SEO sitemap.
Stop Core Files Indexing by Google
You should control how Google and other search engine indexes your website. There are several folders and pages that should not be indexed by Google and other search engines. You should add those files to the exclude list in your robots.txt
To stop Google from indexing these pages, your robots.txt file should be as follows:
User-agent:*
Disallow: /wp-admin
Disallow: /wp-includes
Disallow: /wp-content/themes
Disallow:/wp-content/plugins
Disable HTML in WordPress Comments
Finally, you should disable HTML code in comments on your site. The majority of WordPress themes allow HTML in comments, this gives an opportunity to spammers to add links in comments.
You can disable HTML in WordPress comments by adding the following code to your theme function.php file:
add_filter(‘pre_comment_content’, ‘wp_specialchars’);
[kkstarratings]

Good Morning! To all. I hope all the team on this site are in good health. I can’t seem to get rid of this error 522.
https://bloggersprout.com/how-to-fix-error-522-connection-timed-out/?swpmtx=b9223231502c74e4393a19e4098d0c0d&swpmtxnonce=f496f2f373
[Translated:- Bom dia! A todos. Espero que estejam bem de saúde a toda equipe desse site. Eu não consigo como eliminar esse erro 522.]