How to Create Custom Post Types in WordPress Easily
Several of our readers have asked how I create custom post types in WordPress as you can see in BloggerSprout we have several custom post types.
So in this article, we will show you how to easily create custom post types in WordPress. We will cover two methods:-
- Using a plugin
- Using code.
Disclosure: I may receive affiliate compensation for some of the links below at no cost to you if you decide to purchase a paid plan. You can read our affiliate disclosure in our privacy policy.
What is a Custom Post Type in WordPress?
WordPress by default allows you to only create posts and pages but however if you want to make use of this powerful CMS for your need you can create custom post type as per your requirement.
A Custom Post Type is just like the normal post but it allows you to name it and add custom functionality the way you want. You can create your own custom post type and call them whatever you want.
Let’s take an example:-
If you run a car dealership website then you would probably want to show different types of cars and its features.
So in order to create a post type cause and add custom features, you need to have a separate custom post section and which can only be achieved by creating custom post type named cars.
Some other popular examples of custom post types are portfolio, testimonials, reviews, downloads, products, etc.
Many popular plugins also make use of custom post types like woocommerce, easy digital downloads, elementor, and the list goes on. Woocommerce allows you to add products which is a custom post type.
That being said, let’s take a look at how to easily create custom post types in WordPress for your own use.
How to Create Custom Post type in WordPress step by step.
Method of creating Custom Post Types:-
- Easy method using a Plugin.
- Manual method using code.
Watch this video to learn how to create a custom post type easily.
Method 1: Creating a Custom Post Type the easy way using Plugin.
WordPress allows you to easily create a custom post type within a few minutes just by using a plugin. In this method, you have very minimal chances of making errors or breaking your site.
Using a plugin to create a custom post type is also very safe and super easy.
To get started creating a custom post type you need to download a plugin called custom post type UI.
Go to Plugins> Add new> and Search for > Custom Post Type UI
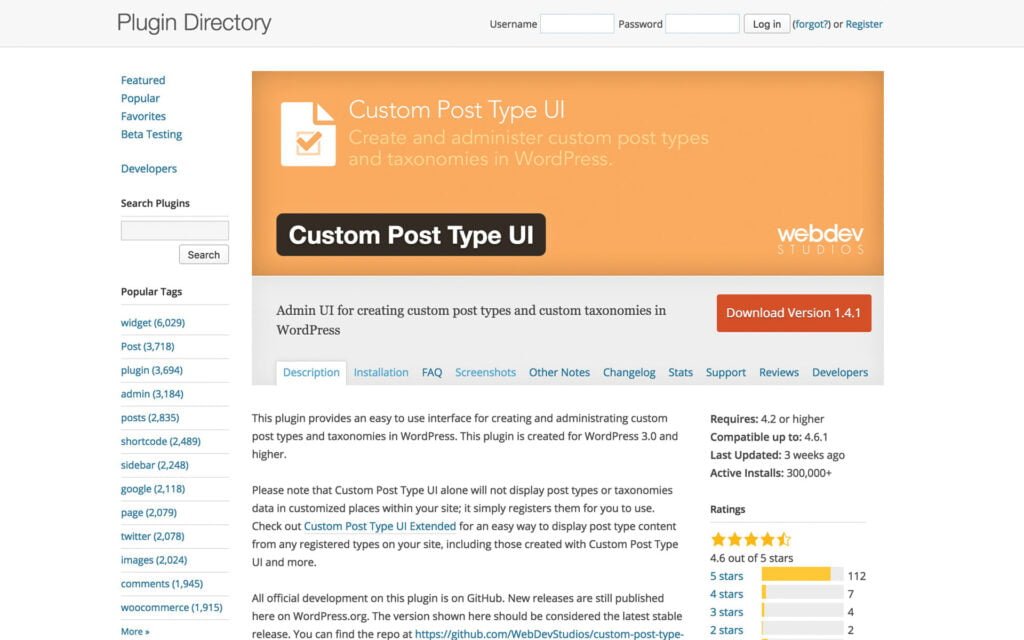
Install and Activate it.
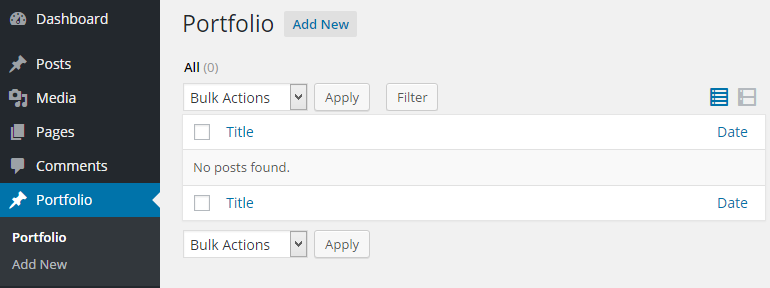
Upon activation, the plugin will add a new menu in your WordPress admin called CPT UI, which you will find below the settings in your left sidebar.
To create a new Custom Post Type, click on CPT UI > Add New.
The plugin will welcome you with a bunch of fields that you need to fill in. These fields are as below:
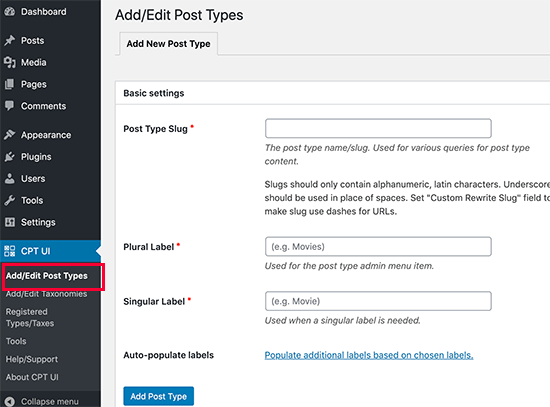
Post Type Slug: This will be used in the URL and in the WordPress queries and cannot contain any spaces.
Plural label: The name for your custom post type for plural items.
Singular label: The singular name for your custom post type
These are the main fields that you need to fill in for your custom post type, but if you want to modify it a little bit more you can click on the field which says ‘populate additional levels based on chosen level’.
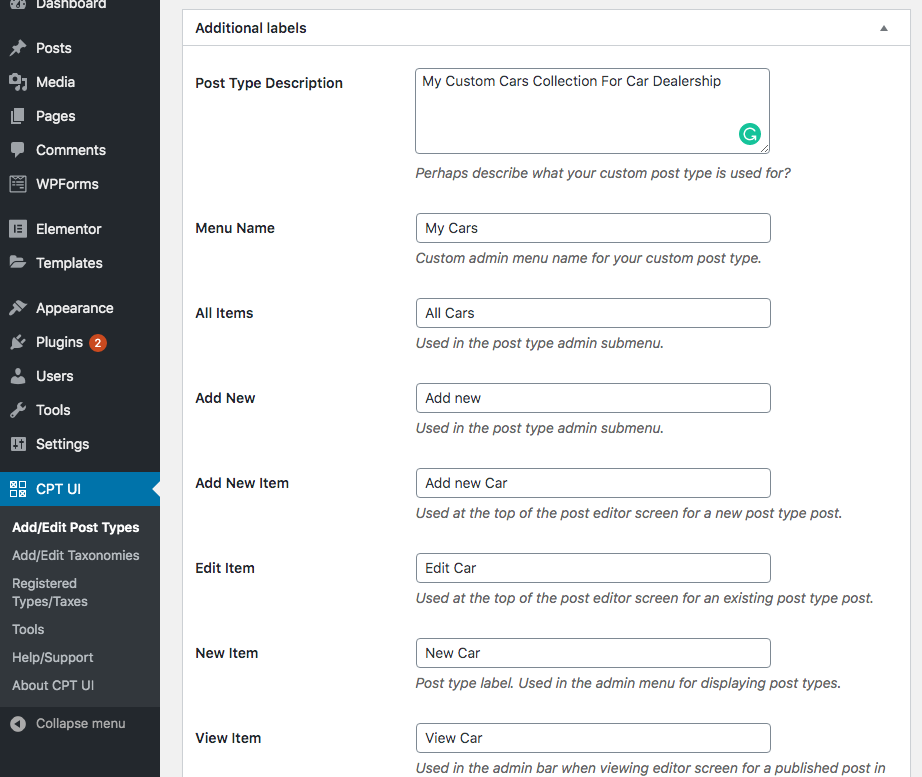
Scroll down to the additional level section. In this section, you can add a description for your post type and also has the option to change any labels if you want.
Most of the labels are pre-filled and you don’t need to change it as they perfectly filled by a default value.
The next section is the settings section, you can change the different attributes for your custom post type in this section.

The settings are pre-filled with the default options and don’t require any changes, however, if you want to make a change, you can do it here. For example: If you don’t want your custom post type to be hierarchical like posts you can turn it off here and make it like the pages.
This is the last part of creating a custom post type using the plugin. This section is named as support sections.
Basically, the support section allows your custom post type to support custom features. Simply check the options that you want your custom post type to have.
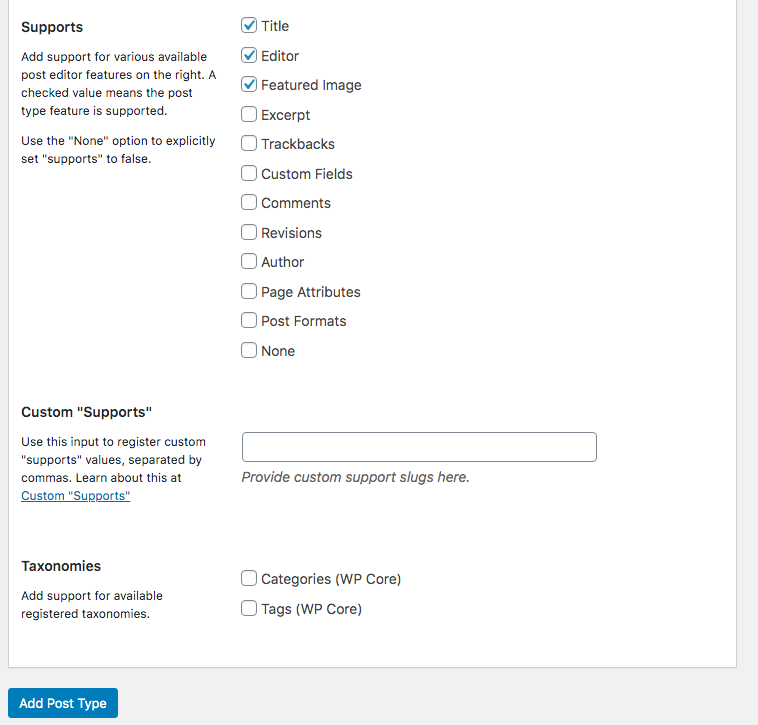
When it’s done, click on the ‘Add Post Type’ button to save and create your new custom post type.
That’s all, you have successfully created a custom post type using a plugin within a few minutes.
Note: Displaying a custom post type on your website needs some additional steps. Scroll below this post to display custom post type on your website to learn how how to display your custom post type contents on your website.
Method 2: Manually Creating a Custom Post Type using Code.
This method is only recommended for those who know how WordPress works and has basic information about coding.
If you don’t have the basic information about coding I highly recommend you to use Method 1. In this method, you have the maximum chances of breaking your website or creating some error.
But if you know how to code then this is the easiest method for you to create a custom post type and to have complete control over it. On BloggerSprout we use method 2 since it helps us to control the custom post type in the best way we want.
So to create a custom post type you will need the following things
- FTP access
- FTP program
- and the code
WordPress themes have a default structure on how it works, most of the theme will use the functions.php file to add any functions functionality on the website.
But it’s hard to say as several themes make use of their own structure by adding custom functionality to the default structure of a WordPress theme. So in this tutorial, we will consider that the functions.php file is used to add all the functionality to the WordPress theme.
Copy this code below. This code works into sections, first to register a custom post type and second to give it the proper labels and support.
// Our custom post type function
function create_posttype() {

    register_post_type( 'movies',
    // CPT Options
        array(
            'labels' => array(
                'name' => __( 'Movies' ),
                'singular_name' => __( 'Movie' )
            ),
            'public' => true,
            'has_archive' => true,
            'rewrite' => array('slug' => 'movies'),
            'show_in_rest' => true,

        )
    );
}
// Hooking up our function to theme setup
add_action( 'init', 'create_posttype' );
/*
* Creating a function to create our CPT
*/
function custom_post_type() {
// Set UI labels for Custom Post Type
$labels = array(
'name' => _x( 'Movies', 'Post Type General Name', 'twentytwenty' ),
'singular_name' => _x( 'Movie', 'Post Type Singular Name', 'twentytwenty' ),
'menu_name' => __( 'Movies', 'twentytwenty' ),
'parent_item_colon' => __( 'Parent Movie', 'twentytwenty' ),
'all_items' => __( 'All Movies', 'twentytwenty' ),
'view_item' => __( 'View Movie', 'twentytwenty' ),
'add_new_item' => __( 'Add New Movie', 'twentytwenty' ),
'add_new' => __( 'Add New', 'twentytwenty' ),
'edit_item' => __( 'Edit Movie', 'twentytwenty' ),
'update_item' => __( 'Update Movie', 'twentytwenty' ),
'search_items' => __( 'Search Movie', 'twentytwenty' ),
'not_found' => __( 'Not Found', 'twentytwenty' ),
'not_found_in_trash' => __( 'Not found in Trash', 'twentytwenty' ),
);
// Set other options for Custom Post Type
$args = array(
'label' => __( 'movies', 'twentytwenty' ),
'description' => __( 'Movie news and reviews', 'twentytwenty' ),
'labels' => $labels,
// Features this CPT supports in Post Editor
'supports' => array( 'title', 'editor', 'excerpt', 'author', 'thumbnail', 'comments', 'revisions', 'custom-fields', ),
// You can associate this CPT with a taxonomy or custom taxonomy.
'taxonomies' => array( 'genres' ),
/* A hierarchical CPT is like Pages and can have
* Parent and child items. A non-hierarchical CPT
* is like Posts.
*/
'hierarchical' => false,
'public' => true,
'show_ui' => true,
'show_in_menu' => true,
'show_in_nav_menus' => true,
'show_in_admin_bar' => true,
'menu_position' => 5,
'can_export' => true,
'has_archive' => true,
'exclude_from_search' => false,
'publicly_queryable' => true,
'capability_type' => 'post',
'show_in_rest' => true,
);
// Registering your Custom Post Type
register_post_type( 'movies', $args );
}
/* Hook into the 'init' action so that the function
* Containing our post type registration is not
* unnecessarily executed.
*/
add_action( 'init', 'custom_post_type', 0 );Paste the code at the bottom of your functions.php file and Click on Save Changes.
That’s it, your custom post type has been created, The next thing you should do is to know how to display custom post type in your site.
Displaying Custom Post Types on your Site.
WordPress by default allows you to display custom post types using default WordPress theme structure.
There are 2 Methods to display a custom post type:
- Using default archive template
- Creating a custom archive and single template
Using the Default Archive Template.
The default Archive Template is already created in WordPress. To make sure that your WordPress supports your custom post type, Go to Settings > Permalink and click Save Changes twice.
Next, go to Menu > edit your current menu > and add the custom link for your custom post type.
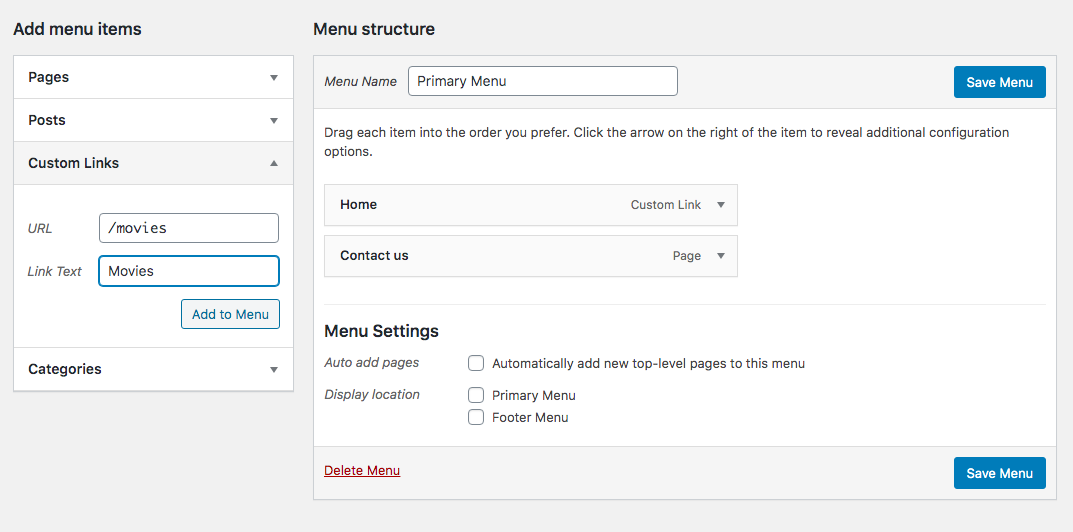
Save your menu and check the frontend of your website. The new menu should display the link for the custom post type. Click on it and check that the post within the custom post type can be viewed easily and everything is working fine.
Creating a Custom Archive and Single Templates
If you want to display your custom post type in a different way, you can do it here by creating a custom archive and single template.
To create a custom archive and single template there are two methods.
- Method 1: Writing a Code
- Method 2: Using Elementor Pro
Method 1: Writing a Code
To do this you should know no coding as you need to declare the HTML files for your custom template, CSS for its design, JavaScript if any required and PHP code to query the contents. There is no default way of doing this as all themes use different methods.
Example: If you are creating a car dealership website and you have created custom post types of cars, then you need to create 2 custom PHP file.
- archive-cars.php
- single-cars.php
Two files define the design and functionality of your custom post type, and whenever you visit your custom post type this to files will load up.
The archive file will show all the posts that your custom post type has and the single file is used to display a particular post from your custom post type.
Method to using Elementor Pro
If you don’t want the Hustle of writing the HTML, CSS, JavaScript and the PHP file for querying you can use Elementor Pro. Elementor pro allows you to create and design and add the query functionality for your Archive and Single PHP files just by using its Drag and drop editor.
You can use a prebuilt template for your archive and single file or create it from scratch.
Once you are happy with the design and the query function, click on Save Changes and Choose the display options for your custom post type.
We have a detailed video on how to create a custom post type using elementor.
Displaying and Querying custom post type
If you need any help to display a custom post type on the front page or any other page for creating a custom post type and adding other functions into it. You can hire WordPress export at a very reasonable price from GloriousThemes.com.
Conclusion
Custom Post Type allows you to do so much from your WordPress that you can imagine. You can create custom templates for your custom post type using Elementor Pro which you can click here to download.
If you are good at programming then you can copy and paste the following codes and created on custom post type and query it whenever you want.
We hope this article helped you to learn how to create custom post types in WordPress. You may also want to check out this article – “How to Fix WordPress Admin White Screen of Death“.
If you like this article please subscribe to your YouTube channel for more what is videos. You can also find us on Twitter and Facebook and if you want this post in Hindi you can visit WPGuruji.com
Check out the wpbeginning.com to learn how to start a perfect blog from scratch the entire course is free and no credit card is required.